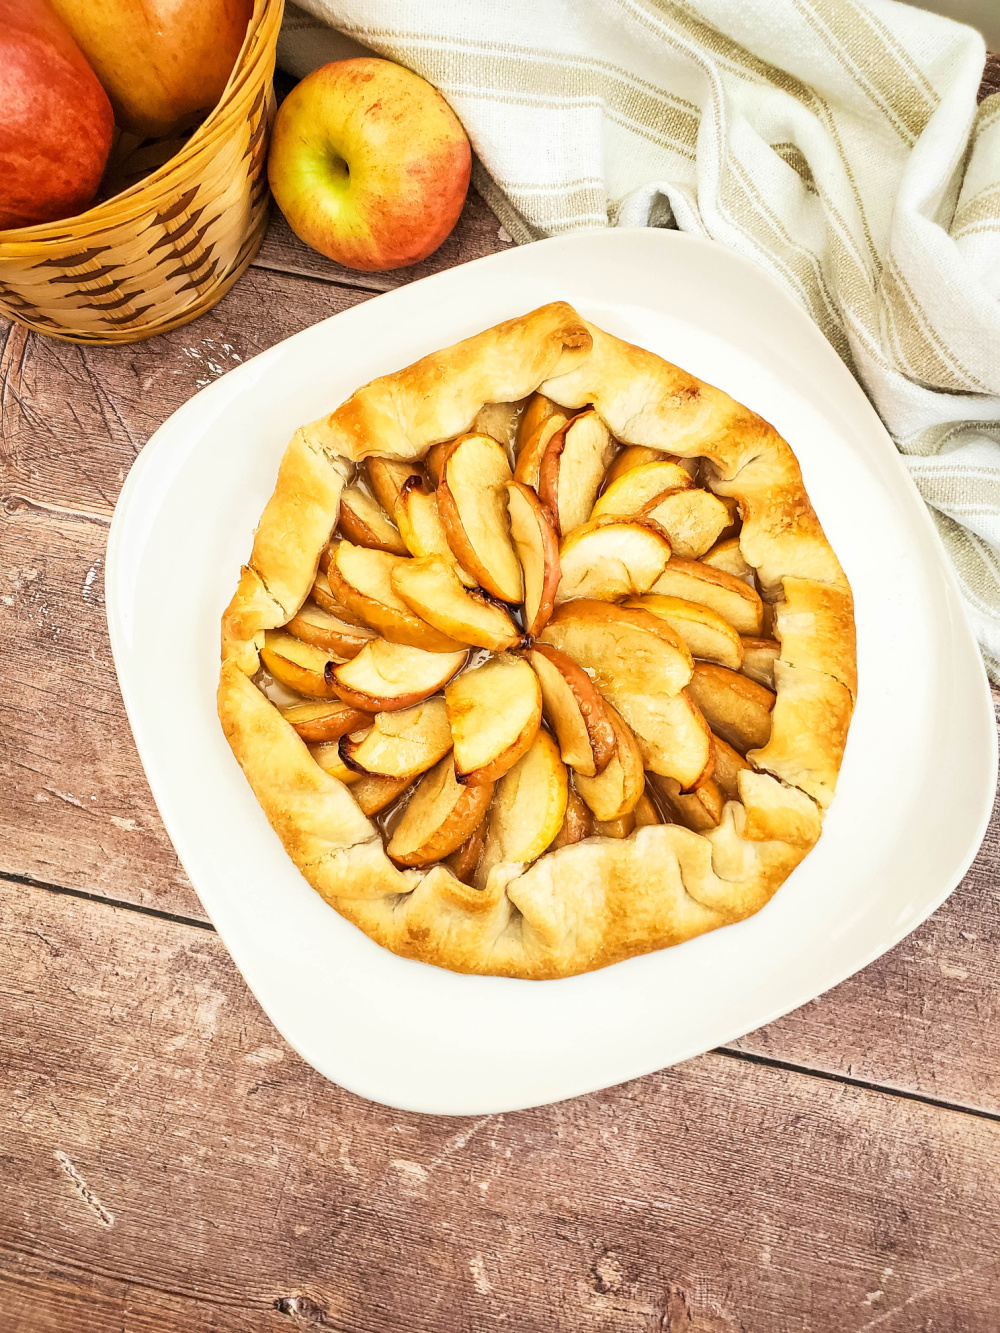
The Ultimate Guide to the Best Apple Pie Recipe: A Delicious Classic
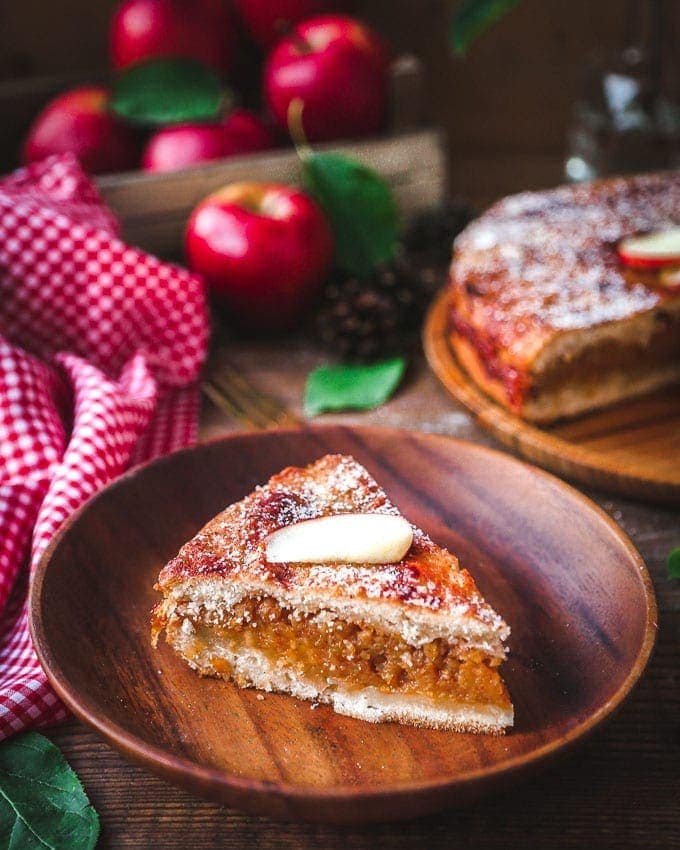
The Best Apple Pie Recipe: A Delicious Classic
There’s nothing quite like a homemade apple pie – the perfect combination of sweet, tangy apples and buttery pastry. If you’re looking to impress your friends and family with a classic dessert, look no further than this tried and tested apple pie recipe.
Ingredients:
- 6-7 large apples, peeled, cored, and sliced
- 1 cup granulated sugar
- 1/4 cup all-purpose flour
- 1 teaspoon ground cinnamon
- 1/4 teaspoon ground nutmeg
- A pinch of salt
- 2 tablespoons butter, diced
- 2 9-inch pie crusts (homemade or store-bought)
Instructions:
- Preheat your oven to 200°C (400°F).
- In a large bowl, combine the sliced apples, sugar, flour, cinnamon, nutmeg, and salt. Mix well to coat the apples evenly.
- Place one pie crust in a 9-inch pie dish. Fill it with the apple mixture and dot with diced butter.
- Cover the filling with the second pie crust. Seal the edges by crimping them together with a fork or your fingers.
- Cut slits in the top crust to allow steam to escape during baking.
This apple pie is best served warm with a scoop of vanilla ice cream or a dollop of whipped cream. Enjoy this timeless dessert that never fails to delight!
Bon appétit!
Unveiling the Secrets: FAQs on Crafting the Perfect Apple Pie
- Why does McDonald’s apple pie taste so good?
- What are the common mistakes when baking apple pie?
- What is the secret to a perfect apple pie?
- Why are McDonald’s apple pies so good?
- What is the secret to a good apple pie?
- What is the secret ingredient in apple pie?
- Should you cook apples before putting them in a pie?
- What is the best thickener for apple pie filling?
Why does McDonald’s apple pie taste so good?
The secret to why McDonald’s apple pie tastes so good lies in its unique blend of flavours and textures. McDonald’s apple pie is known for its crispy, golden-brown pastry that encases tender, sweetened apple filling. The combination of warm cinnamon-spiced apples and flaky crust creates a comforting and familiar taste that appeals to many. Additionally, the convenience and consistency of McDonald’s apple pie have made it a popular choice for those craving a delicious dessert on the go.
What are the common mistakes when baking apple pie?
When baking an apple pie, there are a few common mistakes that can easily be made. One of the most frequent errors is not properly pre-cooking the apples before baking the pie, which can result in unevenly cooked or crunchy apples. Another mistake is overloading the pie with filling, causing it to overflow and make a mess in the oven. Using a soggy bottom crust or not sealing the edges properly can also lead to a less-than-perfect apple pie. Lastly, failing to allow the pie to cool sufficiently before slicing into it can result in a runny filling. By being mindful of these common pitfalls, you can ensure your apple pie turns out beautifully every time.
What is the secret to a perfect apple pie?
When it comes to achieving the perfect apple pie, the secret lies in striking the ideal balance of flavours and textures. The key is to use a combination of sweet and tart apples for depth of flavour, along with just the right amount of sugar and spices to enhance the natural sweetness of the fruit. Additionally, ensuring that the pie crust is flaky and buttery is essential to complementing the juicy apple filling. Attention to detail in every step, from selecting high-quality ingredients to mastering the baking process, is what sets apart a truly exceptional apple pie.
Why are McDonald’s apple pies so good?
McDonald’s apple pies have gained popularity for their unique appeal due to a combination of factors. The crispy, flaky crust encasing the sweet, cinnamon-spiced apple filling creates a comforting and familiar taste that many enjoy. Additionally, the convenience and consistency of McDonald’s apple pies make them a convenient treat for on-the-go snacking. The nostalgic charm of this classic dessert, coupled with its affordability and accessibility at McDonald’s outlets worldwide, contributes to why many people find McDonald’s apple pies so appealing and satisfying.
What is the secret to a good apple pie?
When it comes to creating a truly exceptional apple pie, the secret lies in achieving the perfect balance of flavours and textures. The key to a good apple pie is selecting the right variety of apples – opt for a mix of sweet and tart apples for a well-rounded taste. Additionally, incorporating just the right amount of spices like cinnamon and nutmeg can elevate the flavour profile. Lastly, ensuring that the pastry is flaky and buttery, while also properly sealing the pie to prevent sogginess, is crucial in creating a delicious apple pie that will have everyone coming back for more.
What is the secret ingredient in apple pie?
When it comes to the secret ingredient in apple pie, the answer often lies in a delicate balance of spices. While some may swear by a hint of lemon juice or a splash of vanilla extract, the true magic of a delicious apple pie is often found in the perfect blend of cinnamon and nutmeg. These warm, aromatic spices not only enhance the natural sweetness of the apples but also add depth and complexity to the flavour profile. So, if you’re looking to elevate your apple pie game, don’t underestimate the power of these classic spices as they work their magic in every slice.
Should you cook apples before putting them in a pie?
When considering whether to cook apples before putting them in a pie, it ultimately depends on personal preference and the desired texture of the final dish. Cooking the apples beforehand can help soften them and release their juices, resulting in a more tender filling. However, some recipes call for using raw apples to retain a firmer texture and more distinct apple flavor. Experimenting with both methods can help you determine which approach suits your taste preferences best when baking the perfect apple pie.
What is the best thickener for apple pie filling?
When it comes to achieving the perfect consistency for apple pie filling, the best thickener to use is often a matter of personal preference. However, one of the most commonly recommended thickeners for apple pie filling is all-purpose flour. Flour helps to absorb excess liquid from the apples as they bake, resulting in a thick and gooey filling that holds together well. Alternatively, cornstarch is another popular option as it creates a clear and glossy filling without altering the taste of the apples. Experimenting with different thickeners can help you find the ideal texture that suits your taste buds when making a delicious apple pie.