Savour the Flavours: A Delectable Red Snapper Recipe
The Perfect Red Snapper Recipe
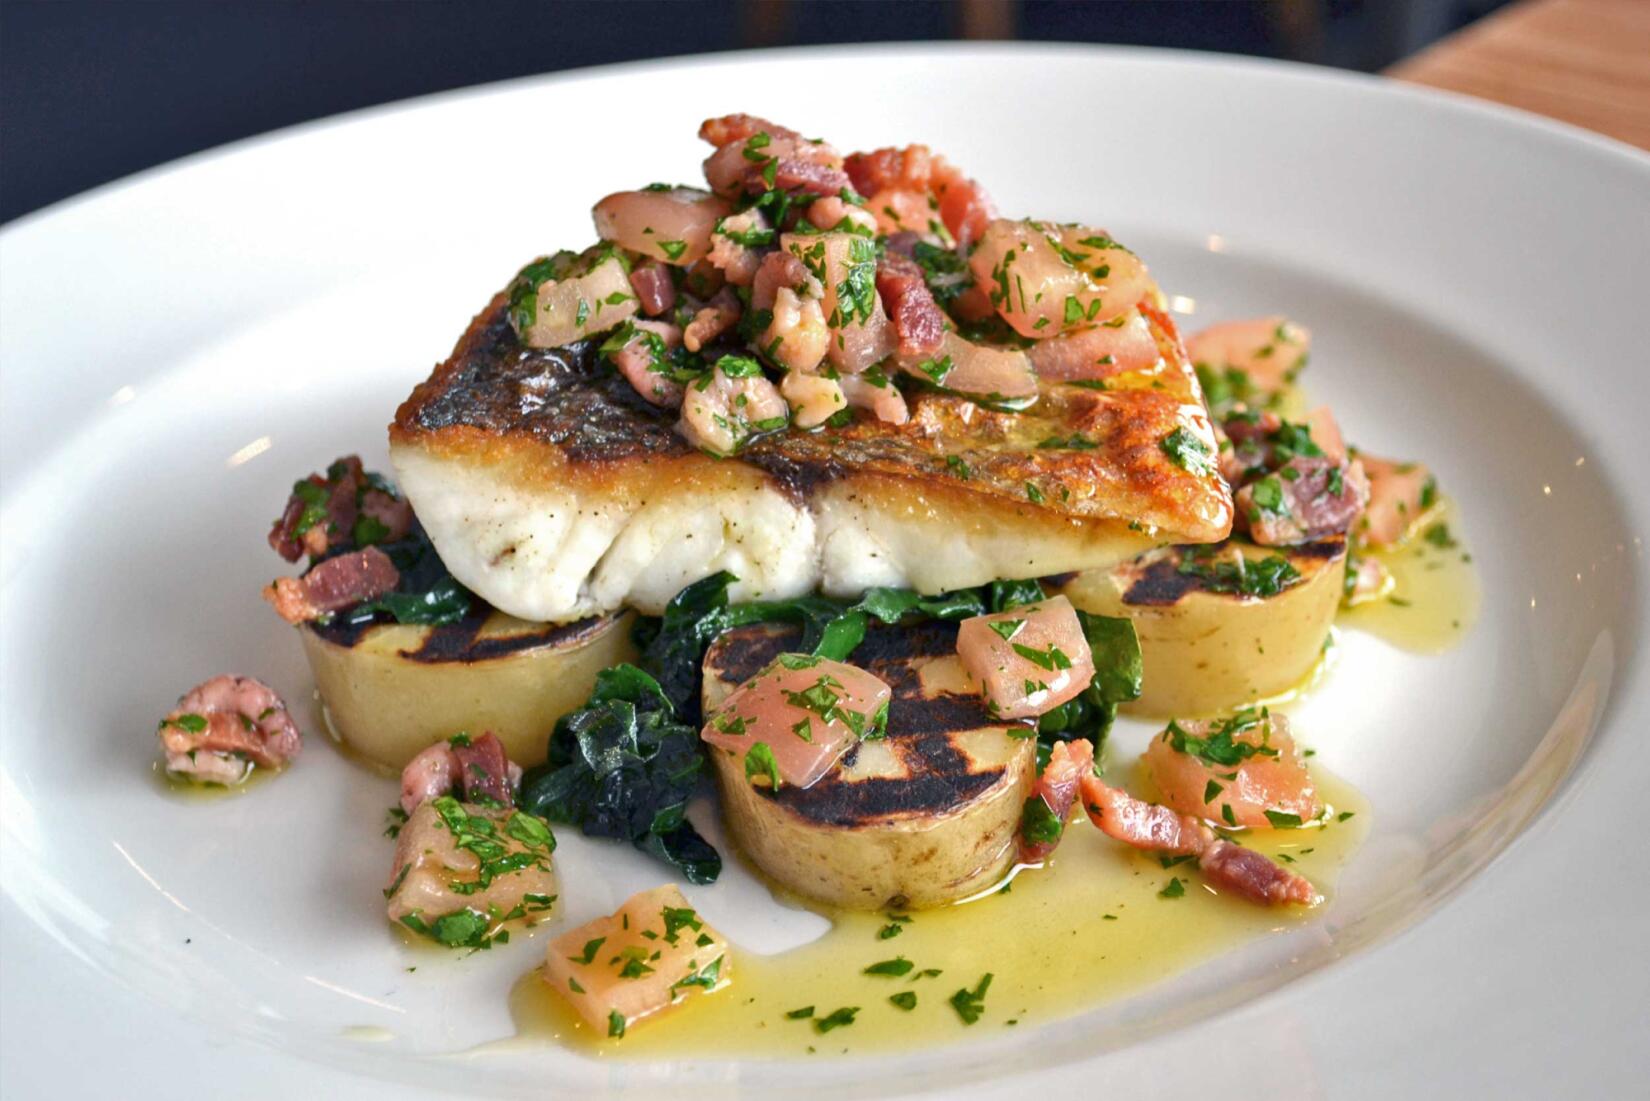
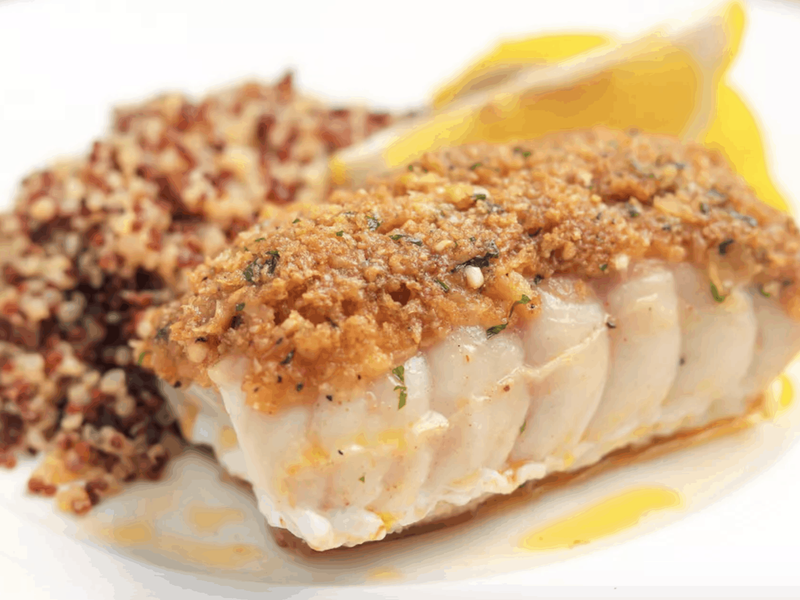
If you’re looking for a delicious and easy-to-make seafood dish, then this red snapper recipe is just what you need. Red snapper is a popular fish known for its sweet and mild flavour, making it a favourite among seafood lovers.
Ingredients:
- 2 red snapper fillets
- 2 tablespoons of olive oil
- 1 lemon, sliced
- 2 cloves of garlic, minced
- Salt and pepper to taste
- Fresh herbs (such as parsley or dill) for garnish
Instructions:
- Preheat your oven to 180°C (350°F).
- Place the red snapper fillets on a baking tray lined with parchment paper.
- Drizzle the fillets with olive oil and season with salt, pepper, and minced garlic.
- Place lemon slices on top of the fillets.
- Bake in the preheated oven for 15-20 minutes or until the fish is cooked through and flakes easily with a fork.
- Garnish with fresh herbs before serving.
This red snapper recipe pairs well with steamed vegetables or a side salad. It’s perfect for a quick weeknight dinner or a special occasion. Enjoy the delicate flavours of this delectable fish dish!
Try this recipe today and impress your family and friends with a mouth-watering meal that showcases the natural goodness of red snapper.
Bon appétit!
Top Tips for Cooking Red Snapper: FAQs and Expert Advice
- How to cook fish for diabetes type 2?
- What do you soak red snapper in before cooking?
- How is snapper supposed to be cooked?
- What goes well with red snapper?
- How to cook snapper Jamie Oliver?
- What are common red snapper cooking mistakes?
How to cook fish for diabetes type 2?
For individuals with type 2 diabetes, cooking fish can be a healthy and delicious choice. When preparing fish for those with diabetes, it is important to focus on methods that retain the natural flavours and nutrients of the fish while avoiding added sugars or unhealthy fats. Grilling, baking, or steaming fish are excellent cooking techniques that help maintain the fish’s nutritional value without the need for excessive oils or sauces. Incorporating herbs and spices for flavour instead of salt or sugary marinades can enhance the taste without compromising on health benefits. By choosing fresh fish and mindful cooking methods, individuals with type 2 diabetes can enjoy a nutritious meal that supports their dietary needs.
What do you soak red snapper in before cooking?
Before cooking red snapper, it is common to soak the fish in a marinade or brine to enhance its flavour and texture. A popular method is to soak red snapper fillets in a mixture of citrus juice (such as lemon or lime), olive oil, herbs, and seasonings. This soaking process not only infuses the fish with delicious flavours but also helps tenderize it, resulting in a more succulent and tasty dish. Experimenting with different marinades can add depth and complexity to your red snapper recipe, ensuring a memorable dining experience.
How is snapper supposed to be cooked?
When it comes to cooking snapper, the key is to preserve its delicate flavour and texture. Snapper can be cooked in various ways, including baking, grilling, or pan-searing. The most important thing is not to overcook it, as this can result in a dry and tough dish. Whether you choose to bake your snapper with herbs and lemon, grill it with a smoky char, or pan-sear it for a crispy skin, the goal is to cook it just until it flakes easily with a fork. By keeping the cooking time short and using simple seasonings that enhance rather than overpower the fish, you can enjoy the natural sweetness and tenderness of snapper in every bite.
What goes well with red snapper?
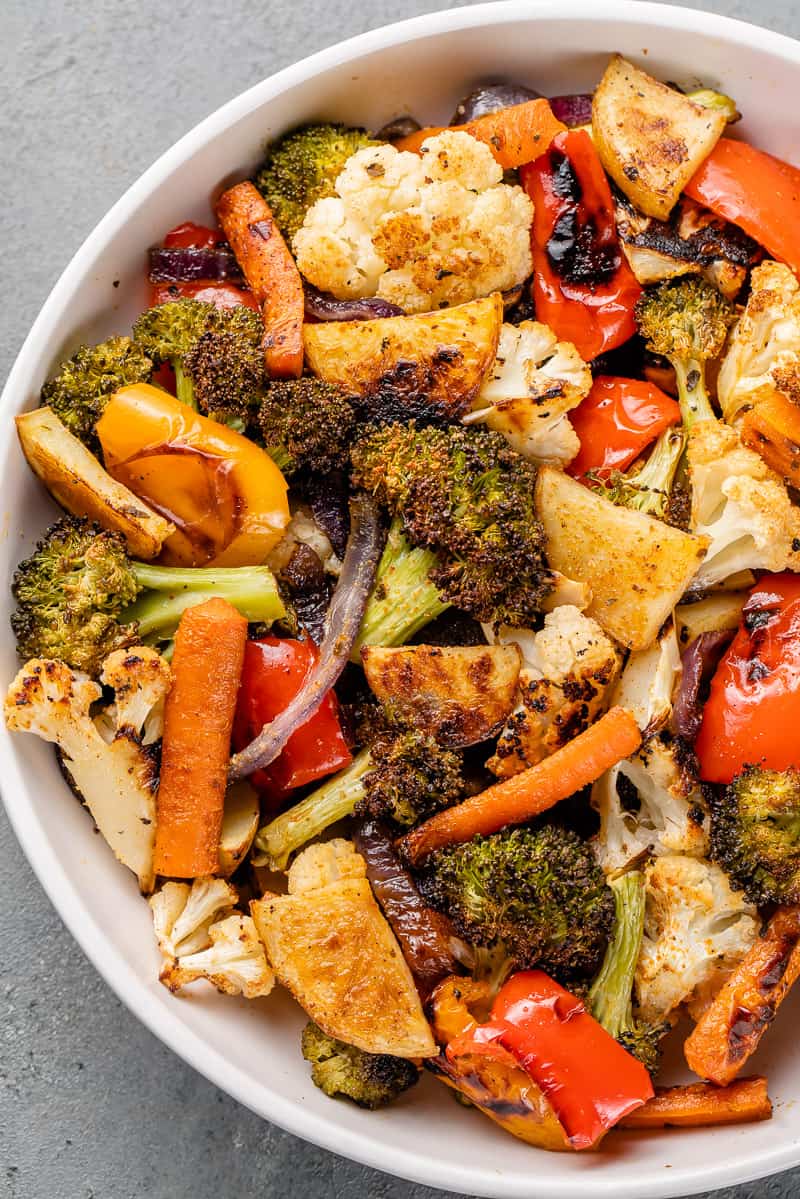
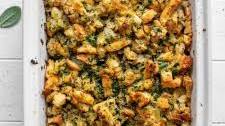
When it comes to pairing side dishes with red snapper, there are several delicious options that complement the fish’s delicate flavour. Some popular choices include steamed vegetables such as asparagus or green beans, a fresh garden salad with a tangy vinaigrette dressing, or a serving of fluffy jasmine rice. The light and flaky texture of red snapper can also be enhanced by roasted potatoes or a citrus-infused quinoa salad. Ultimately, the key is to choose side dishes that enhance rather than overpower the natural taste of the red snapper, creating a well-rounded and satisfying meal for any occasion.
How to cook snapper Jamie Oliver?
When it comes to cooking snapper, following a recipe by renowned chef Jamie Oliver can elevate your culinary experience. Jamie Oliver’s recipes often focus on fresh, simple ingredients that bring out the natural flavours of the fish. To cook snapper Jamie Oliver style, you can expect a combination of vibrant herbs, zesty citrus, and expertly balanced seasonings that create a dish bursting with deliciousness. Whether you’re grilling, baking, or pan-searing your snapper, Jamie Oliver’s recipes are sure to inspire you to create a memorable dining experience that celebrates the beauty of this versatile seafood.
What are common red snapper cooking mistakes?
When preparing red snapper, there are a few common cooking mistakes to avoid to ensure a perfect dish. Overcooking the fish is a prevalent error that can result in dry and tough meat. It’s essential to cook red snapper just until it flakes easily with a fork to preserve its delicate texture and flavour. Another mistake is not seasoning the fish adequately, which can lead to a bland taste. Proper seasoning with salt, pepper, and herbs enhances the natural flavours of red snapper. Lastly, overcrowding the pan while cooking can cause the fillets to steam rather than sear properly, affecting the dish’s overall presentation and taste. By being mindful of these common mistakes, you can elevate your red snapper recipe to a culinary delight.