Graham Cracker Crust Recipe: A Simple, Buttery Base for Pies and Cheesecakes

graham cracker crust recipe

Graham Cracker Crust Recipe

A graham cracker crust is a simple, buttery base for cheesecakes, key lime pie and other chilled desserts. It takes only a few ingredients to make, and you can bake it for a crisp finish or chill it for a no-bake filling. If graham crackers are difficult to find in the UK, digestive biscuits make a good alternative, with a slightly different flavour and texture.

Ingredients

Makes one 23 cm (9-inch) crust.

  • 180 g graham crackers, finely crushed
  • 75 g unsalted butter, melted
  • 50 g caster sugar
  • A small pinch of salt, if using unsalted crackers

Method

  1. Prepare the tin. Lightly grease a 23 cm pie dish or springform tin. If making a filled pie, check whether your recipe calls for a baked or chilled crust.
  2. Crush the crackers. Put the graham crackers in a food processor and pulse into fine, even crumbs. Alternatively, place them in a sealed bag and crush them with a rolling pin.
  3. Mix the ingredients. Tip the crumbs into a bowl and stir in the sugar and salt. Pour in the melted butter and mix until the crumbs are evenly coated and resemble damp sand.
  4. Press into the tin. Transfer the mixture to the prepared tin. Press it firmly across the base and up the sides, using the bottom of a glass or measuring cup to create an even layer.
  5. Bake or chill. For a firmer, toasted crust, bake at 180°C (160°C fan)/350°F for 8–10 minutes, then leave to cool completely before filling. For a no-bake crust, refrigerate for at least 1 hour, or until firm.

Tips for a Reliable Crust

  • Use fine crumbs. Large pieces can make the crust crumbly and harder to slice.
  • Press firmly and evenly. Compacting the crumbs helps the crust hold together, especially around the edges.
  • Adjust if needed. The mixture should hold together when pressed between your fingers. If it seems dry, add a little melted butter; if it feels greasy, mix in a few extra crumbs.
  • Let a baked crust cool. Adding filling while the crust is warm can affect the texture or prevent a chilled filling from setting properly.

Using Digestive Biscuits

To make a UK-friendly version, replace the graham crackers with 180 g of digestive biscuits and follow the same method. Digestives are usually a little sweeter and less spiced, so you can reduce the sugar to 25–35 g to suit your taste.

Storage

A baked, unfilled crust can be covered and kept at room temperature for up to 2 days, or frozen for up to 2 months. Thaw it before adding the filling. Once filled, store the dessert according to the filling recipe.


5 Tips for the Perfect Graham Cracker Crust

  1. Crush the crackers into fine, even crumbs.
  2. Mix crumbs thoroughly with melted butter.
  3. Press the mixture firmly into the tin, especially around the edges.
  4. Bake briefly for a crispier crust, or chill it for a no-bake filling.
  5. Let the crust cool completely before adding the filling.

Crush the crackers into fine, even crumbs.

Crush the graham crackers into fine, even crumbs so they combine evenly with the melted butter and sugar. This helps the crust hold together firmly and gives it a consistent texture, without loose bits that can crumble when sliced. Use a food processor, or place the crackers in a sealed bag and crush them with a rolling pin.

Mix crumbs thoroughly with melted butter.

Mix the crumbs thoroughly with the melted butter so every piece is lightly coated. This helps the mixture hold together when pressed into the tin, giving you a firm, even crust that is less likely to crumble when sliced.

Press the mixture firmly into the tin, especially around the edges.

Press the crumb mixture firmly into the tin, paying particular attention to the edges. A compact, even layer is less likely to crumble when sliced and helps the crust hold its shape beneath the filling. Use the flat bottom of a glass or measuring cup to press it down neatly.

Bake briefly for a crispier crust, or chill it for a no-bake filling.

For a crispier, more firmly set graham cracker crust, bake it briefly before adding the filling, then leave it to cool completely. If you’re making a no-bake dessert, press the crumbs firmly into the tin and chill the crust until set. Chilling keeps the method simple, while baking adds a lightly toasted flavour and extra crunch.

Let the crust cool completely before adding the filling.

Let the crust cool completely before adding the filling. A warm crust can soften or melt the filling, affect its texture and make it harder to set properly. Cooling also helps the base firm up, so it is less likely to crumble when you slice and serve your dessert.
Gluten Free Pie Crust: A Reliable Guide to Tender, Crisp Pastry

gluten free pie crust

Gluten-Free Pie Crust: A Reliable Guide

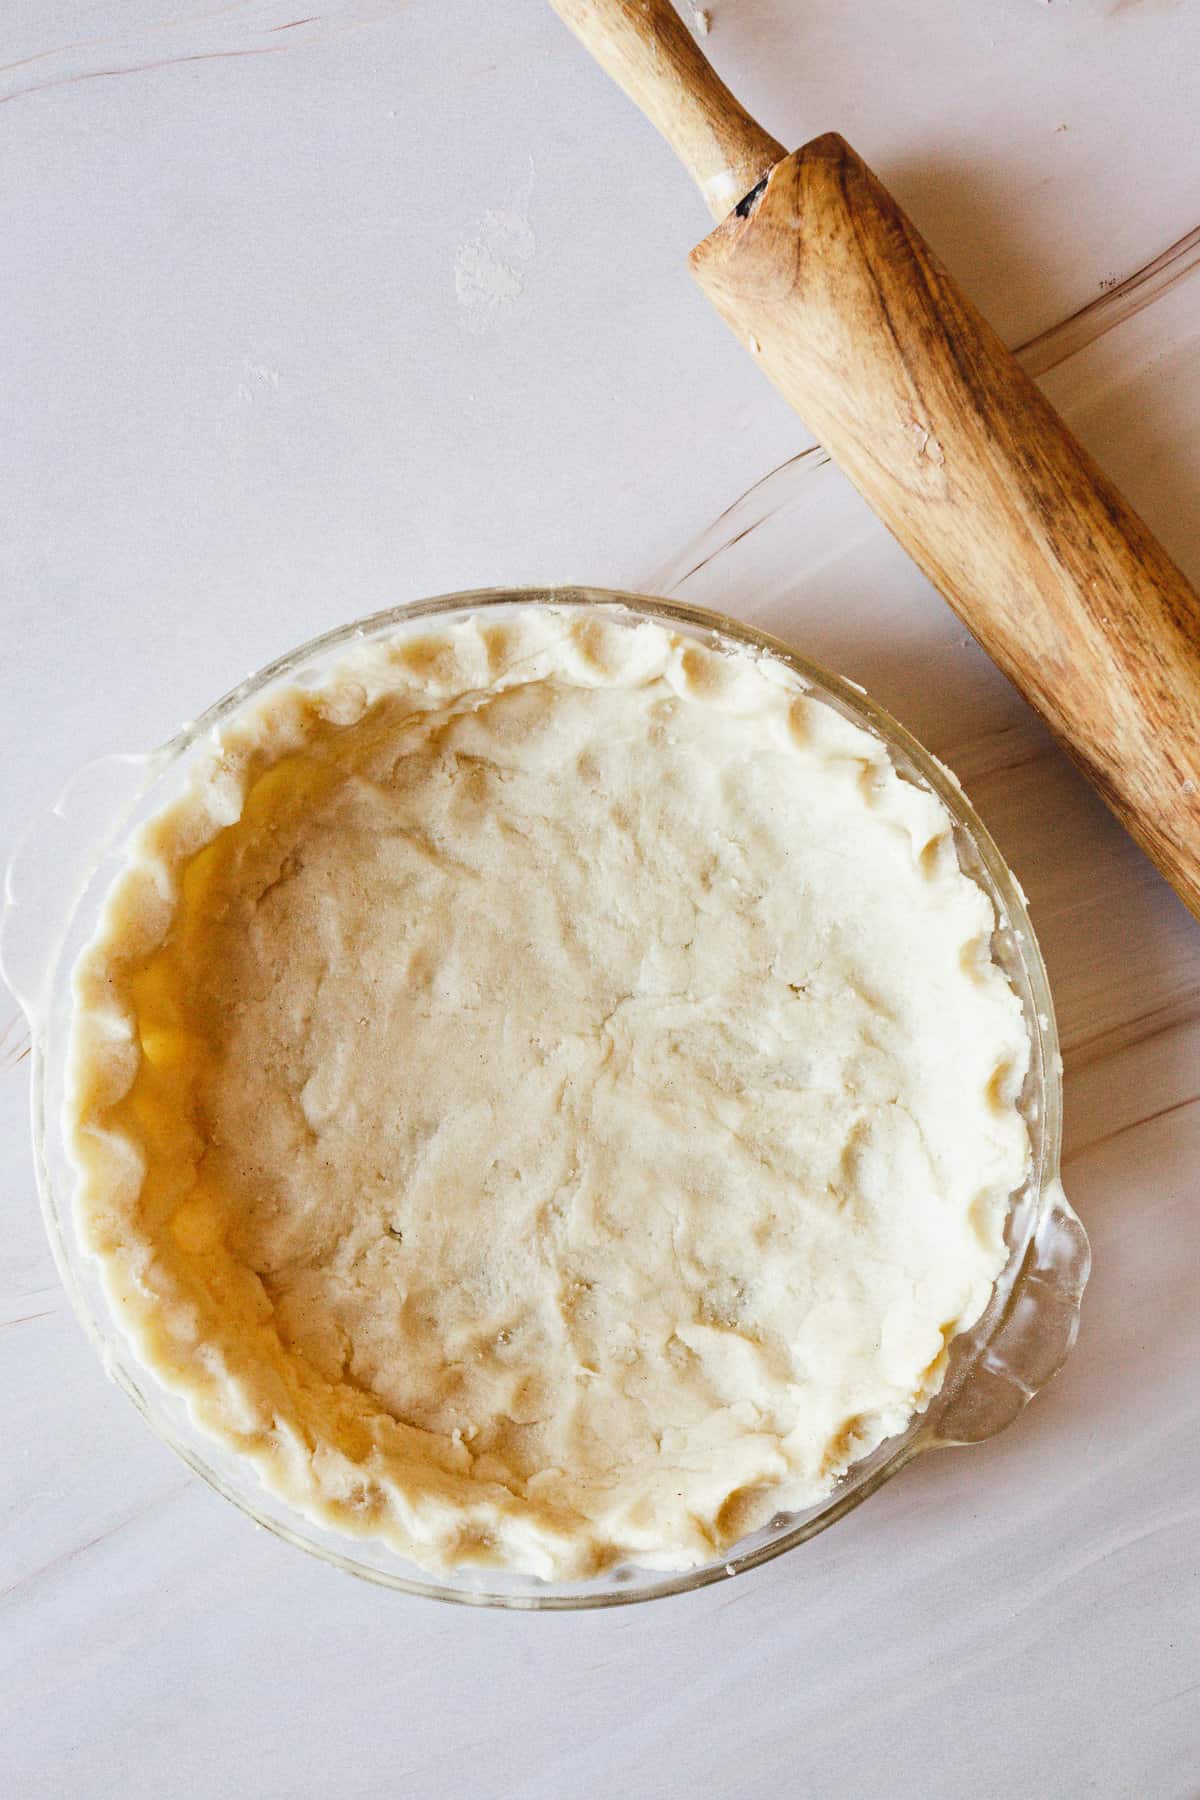
A good pie crust should be tender, crisp and easy to handle. Making one without gluten takes a little care, as gluten-free pastry can be more delicate and prone to cracking. The right flour blend, cold ingredients and a brief rest in the fridge all help create a crust that is both flavourful and practical to work with.

Ingredients

This recipe makes enough pastry for one 23cm pie dish, with a top and base, or one larger tart shell.

  • 300g gluten-free plain flour blend, ideally one containing xanthan gum
  • ½ teaspoon fine salt
  • 1 teaspoon caster sugar, optional for a sweet pie
  • 150g cold unsalted butter, cut into small cubes
  • 1 medium egg
  • 2–4 tablespoons cold water

How to Make Gluten-Free Pie Crust

  1. Combine the dry ingredients. Put the flour, salt and sugar, if using, in a large bowl and mix well.
  2. Rub in the butter. Add the cold butter and rub it into the flour with your fingertips until the mixture resembles coarse breadcrumbs. You can also use a food processor, pulsing briefly.
  3. Bring the dough together. Beat the egg and stir it into the flour mixture. Add cold water a tablespoon at a time, mixing just until the dough holds together when pressed. It may feel softer or slightly more fragile than wheat pastry.
  4. Chill. Shape the dough into a flat disc, wrap it and refrigerate for at least 30 minutes. This firms the butter and makes the pastry easier to roll.
  5. Roll the pastry. Place the dough between two sheets of baking paper and roll it out to around 3mm thick. The paper helps prevent sticking and makes it easier to lift the pastry into the tin.
  6. Line the tin. Remove the top sheet of paper, then use the lower sheet to help turn the pastry into the pie dish. Press it gently into the base and sides. Patch any cracks with small pieces of dough, pressing the joins together.
  7. Fill or blind bake. For a filled pie, add your filling and bake according to the recipe. For an unfilled shell, prick the base with a fork, line it with baking paper and fill with baking beans. Bake at 180°C fan (200°C conventional) for 15 minutes, remove the paper and beans, then bake for a further 5–10 minutes until lightly golden.

Tips for Better Gluten-Free Pastry

  • Check your flour blend. Gluten-free blends vary. If yours does not contain xanthan gum, add about ½ teaspoon to help the dough hold together.
  • Keep everything cool. Warm butter can make pastry greasy and difficult to handle. If the dough becomes soft while rolling, chill it again briefly.
  • Avoid adding too much water. Add it gradually. The dough should come together when pressed, rather than feel wet or sticky.
  • Roll between baking paper. Gluten-free dough can crack more easily than conventional pastry, so this simple step makes it easier to transfer.
  • Let it rest after baking. Allow the crust to cool slightly before cutting so it has time to firm up.

Sweet and Savoury Variations

For a sweet crust, include the caster sugar and add a little lemon zest or vanilla. For a savoury pie, leave out the sugar and add a pinch of black pepper, dried herbs or finely grated hard cheese. If you are cooking for someone with coeliac disease, check that every ingredient is labelled gluten-free and take care to avoid cross-contamination from worktops, utensils and baking tins.

With a little patience and careful handling, gluten-free pie crust can make a crisp, satisfying base for everything from fruit pies to quiches. The key is to keep the dough cool, roll it between sheets of paper and patch any small cracks rather than overworking it.


Essential Tips for Perfecting Your Gluten-Free Pie Crust: Answering Common Questions

  1. What is the best flour to use for gluten-free pie crust?
  2. Why does my gluten-free pie crust crumble or crack?
  3. How can I stop gluten-free pastry from sticking when I roll it out?
  4. Does gluten-free pie crust need xanthan gum?
  5. Can I make gluten-free pie crust without butter?
  6. Should gluten-free pie crust be chilled before baking?
  7. How do I blind bake a gluten-free pie crust?
  8. Can gluten-free pie crust be made ahead or frozen?

What is the best flour to use for gluten-free pie crust?

The best choice is usually a good-quality gluten-free plain flour blend designed for baking, ideally one that contains xanthan gum to help bind the pastry and make it easier to roll. Blends vary, so choose one with a fine texture and follow the recipe’s guidance; if the flour does not contain xanthan gum, you may need to add a small amount separately. Avoid swapping in a single flour, such as rice flour or almond flour, without adjusting the recipe, as it may produce a crumbly or dense crust.

Why does my gluten-free pie crust crumble or crack?

A gluten-free pie crust often crumbles or cracks because it lacks gluten, which normally gives pastry its stretch and structure. The dough may also be too dry, have had too little resting time, or be made with a flour blend that needs a binding agent such as xanthan gum. Add cold water a teaspoon at a time until the dough holds together when pressed, then chill it before rolling. Roll it between sheets of baking paper to make it easier to handle, and patch any small cracks with a little spare dough.

How can I stop gluten-free pastry from sticking when I roll it out?

To stop gluten-free pastry sticking, roll it between two sheets of baking paper rather than adding lots of flour, which can make the crust dry and crumbly. If the dough feels soft, chill it for 20–30 minutes before rolling, and work on a cool surface. You can also lightly dust the paper and rolling pin with gluten-free flour, but use only a little. If the pastry starts to stick or tear, chill it briefly and patch small cracks with your fingers.

Does gluten-free pie crust need xanthan gum?

Gluten-free pie crust does not always need xanthan gum, but it can help the dough hold together and make it easier to roll without cracking. Check the flour blend first: many gluten-free blends already contain xanthan gum, so adding more may make the pastry gummy or tough. If your blend has none, a small amount—around ½ teaspoon for 300g of flour—is usually enough. For a more delicate crust, you can also rely on ingredients such as egg to help bind the dough.

Can I make gluten-free pie crust without butter?

Yes, you can make gluten-free pie crust without butter. Use an equal amount of cold, firm dairy-free baking block or vegetable shortening for a similar texture, checking that it is suitable for your dietary needs. Coconut oil can also work, but may make the pastry more crumbly and add a coconut flavour. As fat substitutes vary, add the water gradually until the dough just holds together, then chill it well before rolling.

Should gluten-free pie crust be chilled before baking?

Yes, chilling gluten-free pie crust before baking is usually a good idea. Resting it in the fridge for at least 30 minutes firms the butter, helps the dough hold its shape and can reduce shrinkage in the oven. It also makes delicate pastry easier to handle. Cover the dough while it chills, and if it becomes very firm, leave it at room temperature for a few minutes before rolling or baking.

How do I blind bake a gluten-free pie crust?

To blind bake a gluten-free pie crust, chill the pastry-lined tin for about 30 minutes, then prick the base lightly with a fork. Line the crust with baking paper and fill it with baking beans or uncooked rice, making sure they reach the sides. Bake at 180°C fan (200°C conventional) for around 15 minutes, then carefully remove the paper and weights and bake for a further 5–10 minutes, until the base looks dry and lightly golden. Check the crust as it bakes, as gluten-free pastry can brown quickly; let it cool before adding the filling.

Can gluten-free pie crust be made ahead or frozen?

Yes, gluten-free pie crust can be made ahead or frozen. Wrap the dough tightly and refrigerate it for up to two days, letting it soften slightly at room temperature before rolling. To freeze, wrap the dough well and store it for up to three months; defrost it overnight in the fridge before use. You can also freeze a pastry-lined pie tin, then bake it from frozen, adding a few extra minutes to the cooking time.