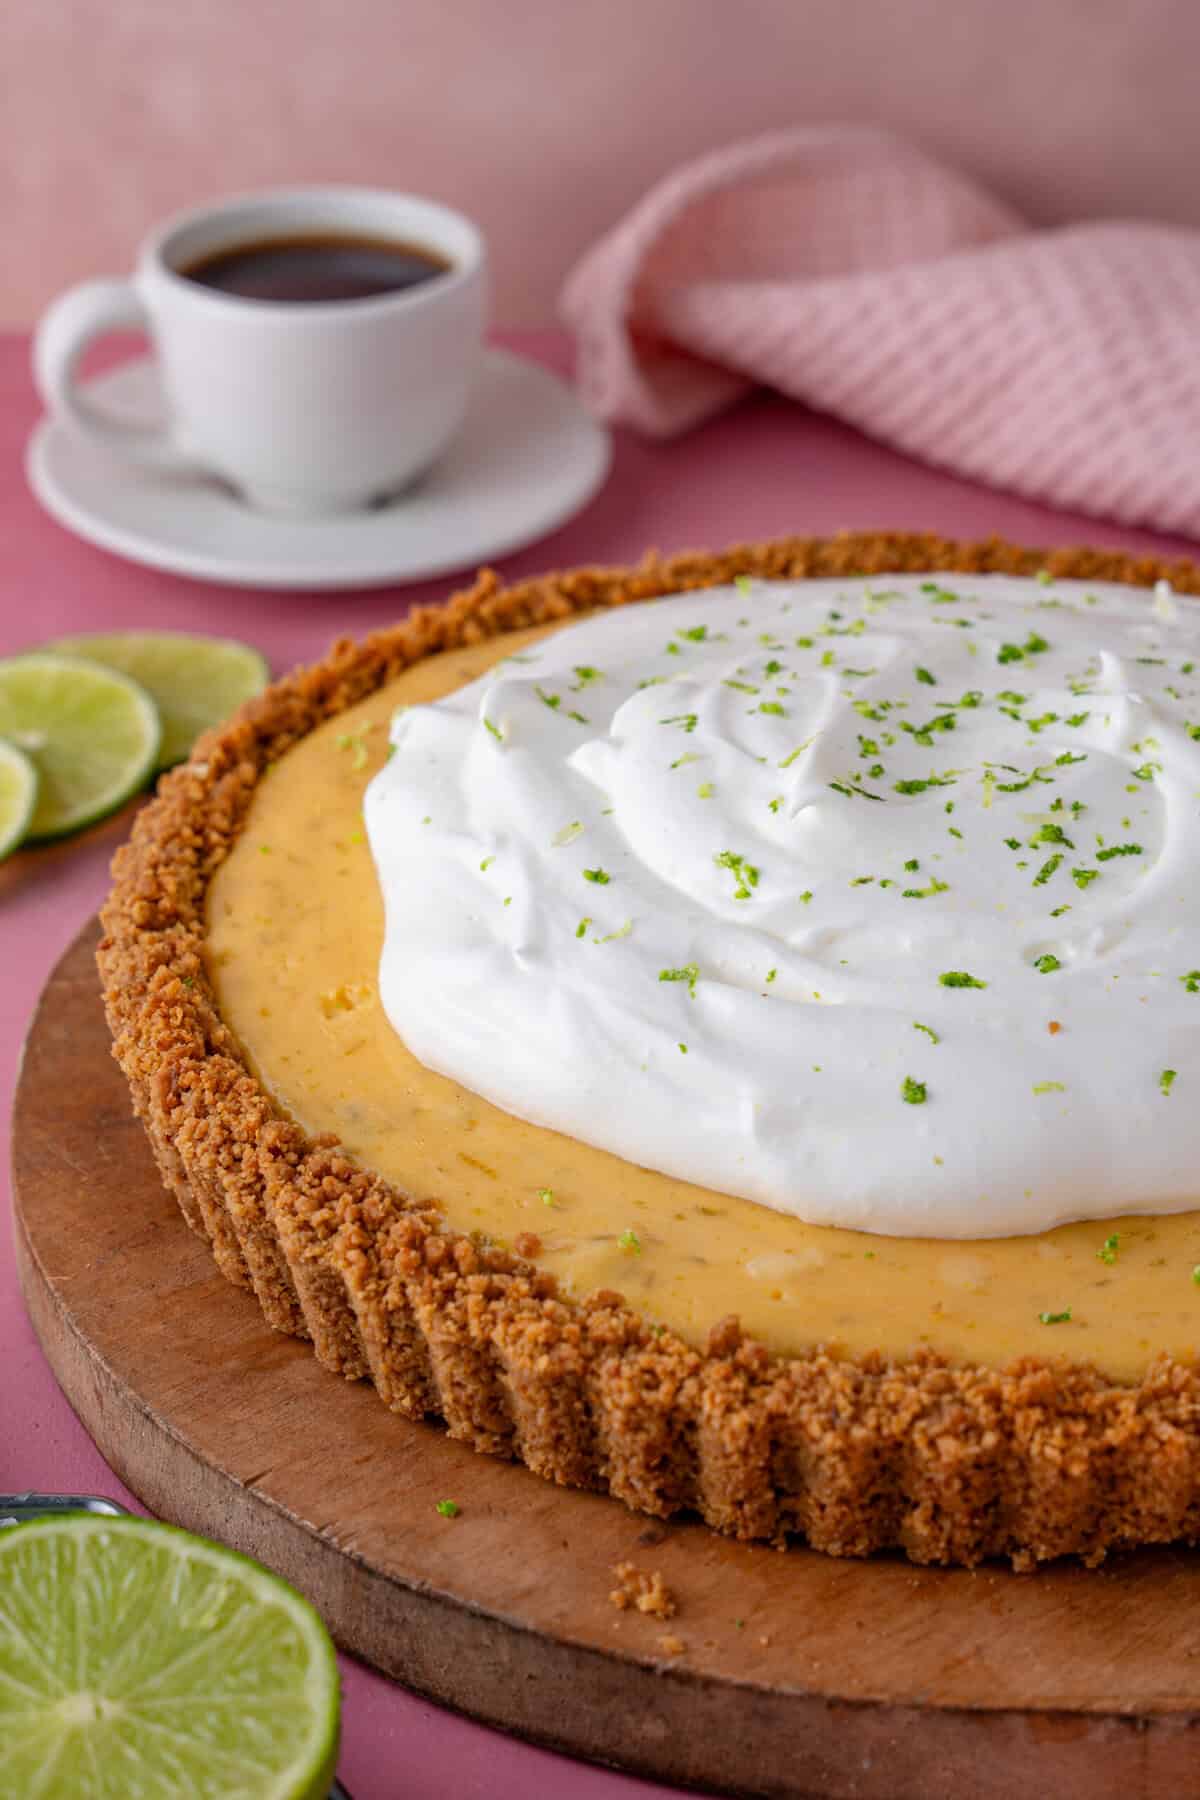
Easy Chocolate Pie Recipe: Rich, Creamy and Delicious
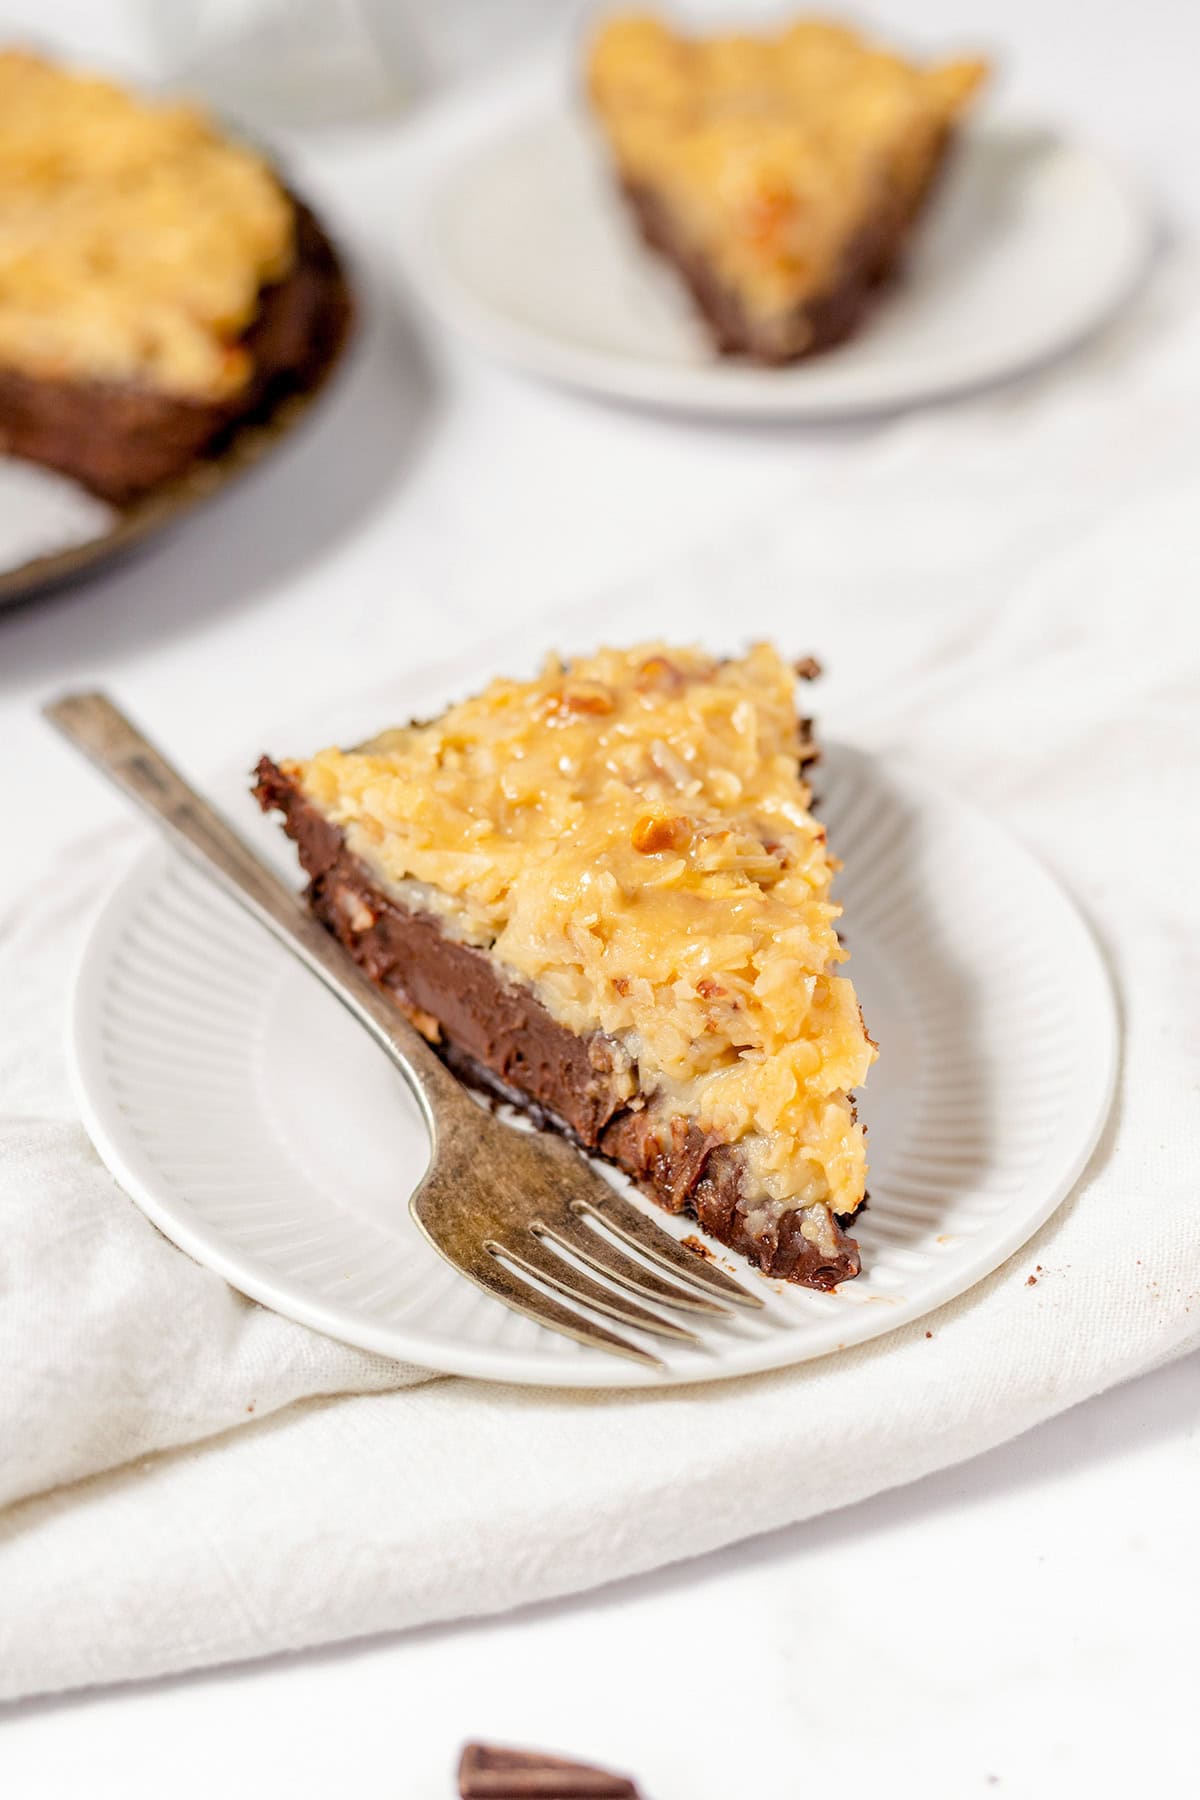
Chocolate Pie Recipe
This chocolate pie has a crisp pastry case filled with smooth, rich chocolate custard and finished with a cloud of whipped cream. It makes an indulgent dessert for a family meal or a special occasion, and can be prepared ahead of time so it is ready to serve straight from the fridge.
At a glance
- Preparation time: 30 minutes
- Cooking time: 35 minutes
- Chilling time: At least 4 hours
- Serves: 8
- Tin: 23cm pie dish
Ingredients
For the pastry case
- 1 sheet of ready-rolled shortcrust pastry, about 320g
- A little plain flour, for dusting
- Baking parchment and baking beans, for blind baking
For the chocolate filling
- 600ml whole milk
- 4 large egg yolks
- 100g caster sugar
- 40g cornflour
- 200g dark chocolate, finely chopped
- 30g unsalted butter, diced
- 1 teaspoon vanilla extract
- A pinch of fine salt
To serve
- 200ml double cream
- 1 tablespoon icing sugar
- Chocolate shavings or cocoa powder, optional
Method
- Prepare the pastry. Heat the oven to 190°C (170°C fan)/Gas Mark 5. Lightly flour the work surface and use it to line the pie dish with the pastry. Trim the edges, prick the base with a fork and chill for 15 minutes.
- Blind bake the case. Line the pastry with baking parchment and fill with baking beans. Bake for 15 minutes, then carefully remove the parchment and beans. Return the case to the oven for 8–10 minutes, until dry and lightly golden. Leave to cool.
- Start the filling. Put the egg yolks, caster sugar and cornflour in a heatproof bowl. Whisk until smooth. Warm the milk in a saucepan over a medium heat until steaming but not boiling.
- Make the custard. Gradually whisk the warm milk into the egg mixture. Pour it all back into the saucepan and cook over a medium heat, whisking constantly. Once it begins to bubble and thicken, keep whisking for about 1 minute, then remove from the heat.
- Add the chocolate. Stir in the chopped chocolate, butter, vanilla and salt until the mixture is glossy and completely smooth. Pour the filling into the cooled pastry case and level the surface.
- Chill the pie. Press a piece of baking parchment or cling film gently against the surface of the filling to prevent a skin forming. Leave to cool, then refrigerate for at least 4 hours, or until firmly set.
- Finish and serve. Whip the double cream with the icing sugar until it forms soft peaks. Spoon or pipe it over the pie and add chocolate shavings or a dusting of cocoa powder, if you like. Slice with a warm, dry knife.
Tips for a delicious chocolate pie
- Use chocolate you enjoy eating. Dark chocolate with around 50–70% cocoa solids gives the filling a deep flavour without making it overly sweet.
- Keep whisking the custard as it cooks, paying particular attention to the corners of the pan, where it can catch.
- For neat slices, make sure the pie is thoroughly chilled and wipe the knife clean between cuts.
- The pie can be made a day ahead. Add the whipped cream shortly before serving for the freshest finish.
Storage
Cover any leftover pie and keep it in the fridge for up to 3 days. The pastry is at its crispest on the day it is made, but the chocolate filling will remain delicious and creamy.
7 Essential Tips for the Perfect Chocolate Pie
- Use good-quality dark chocolate for a richer filling.
- Blind-bake the pastry to keep the base crisp.
- Whisk the filling until smooth and lump-free.
- Bake gently to avoid a cracked top.
- Chill the pie for at least four hours before serving.
- Add a pinch of salt to balance the sweetness.
- Serve with lightly whipped cream or fresh berries.
Use good-quality dark chocolate for a richer filling.
For a richer, more satisfying chocolate pie, choose good-quality dark chocolate with a cocoa content of around 50–70%. It gives the filling a deep, balanced flavour and a silky texture, while helping keep it from tasting overly sweet. Chop the chocolate finely so it melts smoothly into the warm custard.
Blind-bake the pastry to keep the base crisp.
Blind-baking the pastry before adding the chocolate filling helps keep the base crisp rather than soggy. Line the pastry case with baking parchment, add baking beans and bake until the edges are set. Remove the parchment and beans, then return the case to the oven until the base is dry and lightly golden. Let it cool before adding the filling.
Whisk the filling until smooth and lump-free.
Whisk the chocolate filling continuously as it cooks to keep it smooth and lump-free. Pay particular attention to the bottom and corners of the pan, where the custard can thicken or catch. If a few small lumps remain, pass the filling through a fine sieve before pouring it into the pastry case.
Bake gently to avoid a cracked top.
Bake the chocolate pie gently to help prevent the filling from becoming too hot and cracking as it sets. Use the temperature stated in the recipe, and avoid overbaking: the centre should still have a slight wobble when you take the pie out of the oven, as it will continue to firm up while cooling.
Chill the pie for at least four hours before serving.
Chilling the chocolate pie for at least four hours gives the filling time to set, making it smooth, firm and easy to slice. For the neatest portions, leave it in the fridge until just before serving and cut it with a warm, dry knife, wiping the blade between slices.
Add a pinch of salt to balance the sweetness.
A small pinch of salt can make a big difference to your chocolate pie. It balances the sweetness of the filling and brings out the rich, complex flavour of the chocolate without making the dessert taste salty. Stir it into the warm chocolate mixture, then taste and adjust if needed.
Serve with lightly whipped cream or fresh berries.
Serve each slice of chocolate pie with a spoonful of lightly whipped cream for a soft, airy contrast to the rich filling. For a fresher finish, add a handful of fresh berries, such as raspberries or strawberries—their gentle tartness pairs beautifully with the chocolate.