Easy Chocolate Pie Recipe: Rich, Creamy and Delicious
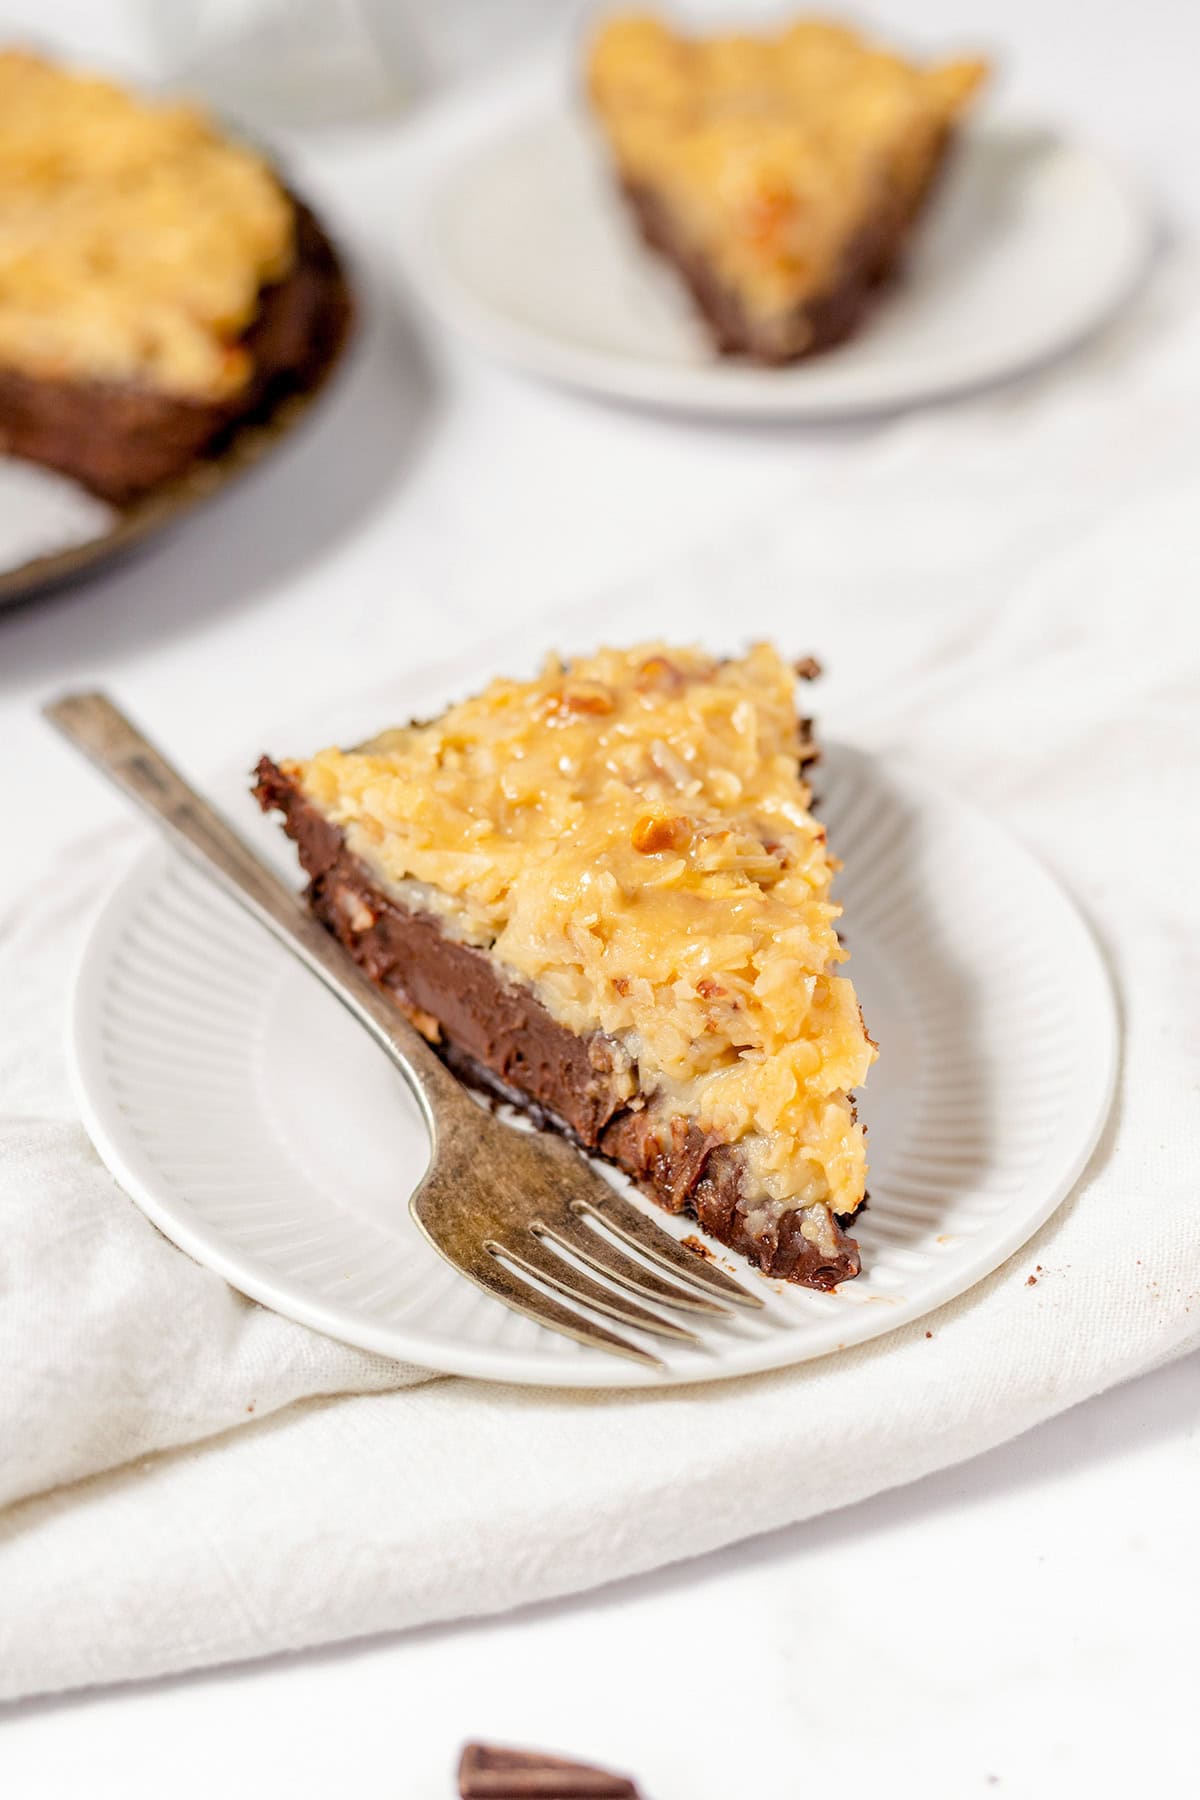
chocolate pie recipe

Chocolate Pie Recipe

This chocolate pie has a crisp pastry case filled with smooth, rich chocolate custard and finished with a cloud of whipped cream. It makes an indulgent dessert for a family meal or a special occasion, and can be prepared ahead of time so it is ready to serve straight from the fridge.

At a glance

  • Preparation time: 30 minutes
  • Cooking time: 35 minutes
  • Chilling time: At least 4 hours
  • Serves: 8
  • Tin: 23cm pie dish

Ingredients

For the pastry case

  • 1 sheet of ready-rolled shortcrust pastry, about 320g
  • A little plain flour, for dusting
  • Baking parchment and baking beans, for blind baking

For the chocolate filling

  • 600ml whole milk
  • 4 large egg yolks
  • 100g caster sugar
  • 40g cornflour
  • 200g dark chocolate, finely chopped
  • 30g unsalted butter, diced
  • 1 teaspoon vanilla extract
  • A pinch of fine salt

To serve

  • 200ml double cream
  • 1 tablespoon icing sugar
  • Chocolate shavings or cocoa powder, optional

Method

  1. Prepare the pastry. Heat the oven to 190°C (170°C fan)/Gas Mark 5. Lightly flour the work surface and use it to line the pie dish with the pastry. Trim the edges, prick the base with a fork and chill for 15 minutes.
  2. Blind bake the case. Line the pastry with baking parchment and fill with baking beans. Bake for 15 minutes, then carefully remove the parchment and beans. Return the case to the oven for 8–10 minutes, until dry and lightly golden. Leave to cool.
  3. Start the filling. Put the egg yolks, caster sugar and cornflour in a heatproof bowl. Whisk until smooth. Warm the milk in a saucepan over a medium heat until steaming but not boiling.
  4. Make the custard. Gradually whisk the warm milk into the egg mixture. Pour it all back into the saucepan and cook over a medium heat, whisking constantly. Once it begins to bubble and thicken, keep whisking for about 1 minute, then remove from the heat.
  5. Add the chocolate. Stir in the chopped chocolate, butter, vanilla and salt until the mixture is glossy and completely smooth. Pour the filling into the cooled pastry case and level the surface.
  6. Chill the pie. Press a piece of baking parchment or cling film gently against the surface of the filling to prevent a skin forming. Leave to cool, then refrigerate for at least 4 hours, or until firmly set.
  7. Finish and serve. Whip the double cream with the icing sugar until it forms soft peaks. Spoon or pipe it over the pie and add chocolate shavings or a dusting of cocoa powder, if you like. Slice with a warm, dry knife.

Tips for a delicious chocolate pie

  • Use chocolate you enjoy eating. Dark chocolate with around 50–70% cocoa solids gives the filling a deep flavour without making it overly sweet.
  • Keep whisking the custard as it cooks, paying particular attention to the corners of the pan, where it can catch.
  • For neat slices, make sure the pie is thoroughly chilled and wipe the knife clean between cuts.
  • The pie can be made a day ahead. Add the whipped cream shortly before serving for the freshest finish.

Storage

Cover any leftover pie and keep it in the fridge for up to 3 days. The pastry is at its crispest on the day it is made, but the chocolate filling will remain delicious and creamy.


7 Essential Tips for the Perfect Chocolate Pie

  1. Use good-quality dark chocolate for a richer filling.
  2. Blind-bake the pastry to keep the base crisp.
  3. Whisk the filling until smooth and lump-free.
  4. Bake gently to avoid a cracked top.
  5. Chill the pie for at least four hours before serving.
  6. Add a pinch of salt to balance the sweetness.
  7. Serve with lightly whipped cream or fresh berries.

Use good-quality dark chocolate for a richer filling.

For a richer, more satisfying chocolate pie, choose good-quality dark chocolate with a cocoa content of around 50–70%. It gives the filling a deep, balanced flavour and a silky texture, while helping keep it from tasting overly sweet. Chop the chocolate finely so it melts smoothly into the warm custard.

Blind-bake the pastry to keep the base crisp.

Blind-baking the pastry before adding the chocolate filling helps keep the base crisp rather than soggy. Line the pastry case with baking parchment, add baking beans and bake until the edges are set. Remove the parchment and beans, then return the case to the oven until the base is dry and lightly golden. Let it cool before adding the filling.

Whisk the filling until smooth and lump-free.

Whisk the chocolate filling continuously as it cooks to keep it smooth and lump-free. Pay particular attention to the bottom and corners of the pan, where the custard can thicken or catch. If a few small lumps remain, pass the filling through a fine sieve before pouring it into the pastry case.

Bake gently to avoid a cracked top.

Bake the chocolate pie gently to help prevent the filling from becoming too hot and cracking as it sets. Use the temperature stated in the recipe, and avoid overbaking: the centre should still have a slight wobble when you take the pie out of the oven, as it will continue to firm up while cooling.

Chill the pie for at least four hours before serving.

Chilling the chocolate pie for at least four hours gives the filling time to set, making it smooth, firm and easy to slice. For the neatest portions, leave it in the fridge until just before serving and cut it with a warm, dry knife, wiping the blade between slices.

Add a pinch of salt to balance the sweetness.

A small pinch of salt can make a big difference to your chocolate pie. It balances the sweetness of the filling and brings out the rich, complex flavour of the chocolate without making the dessert taste salty. Stir it into the warm chocolate mixture, then taste and adjust if needed.

Serve with lightly whipped cream or fresh berries.

Serve each slice of chocolate pie with a spoonful of lightly whipped cream for a soft, airy contrast to the rich filling. For a fresher finish, add a handful of fresh berries, such as raspberries or strawberries—their gentle tartness pairs beautifully with the chocolate.
The Ultimate Key Lime Pie Recipe: A Classic, Creamy Citrus Dessert

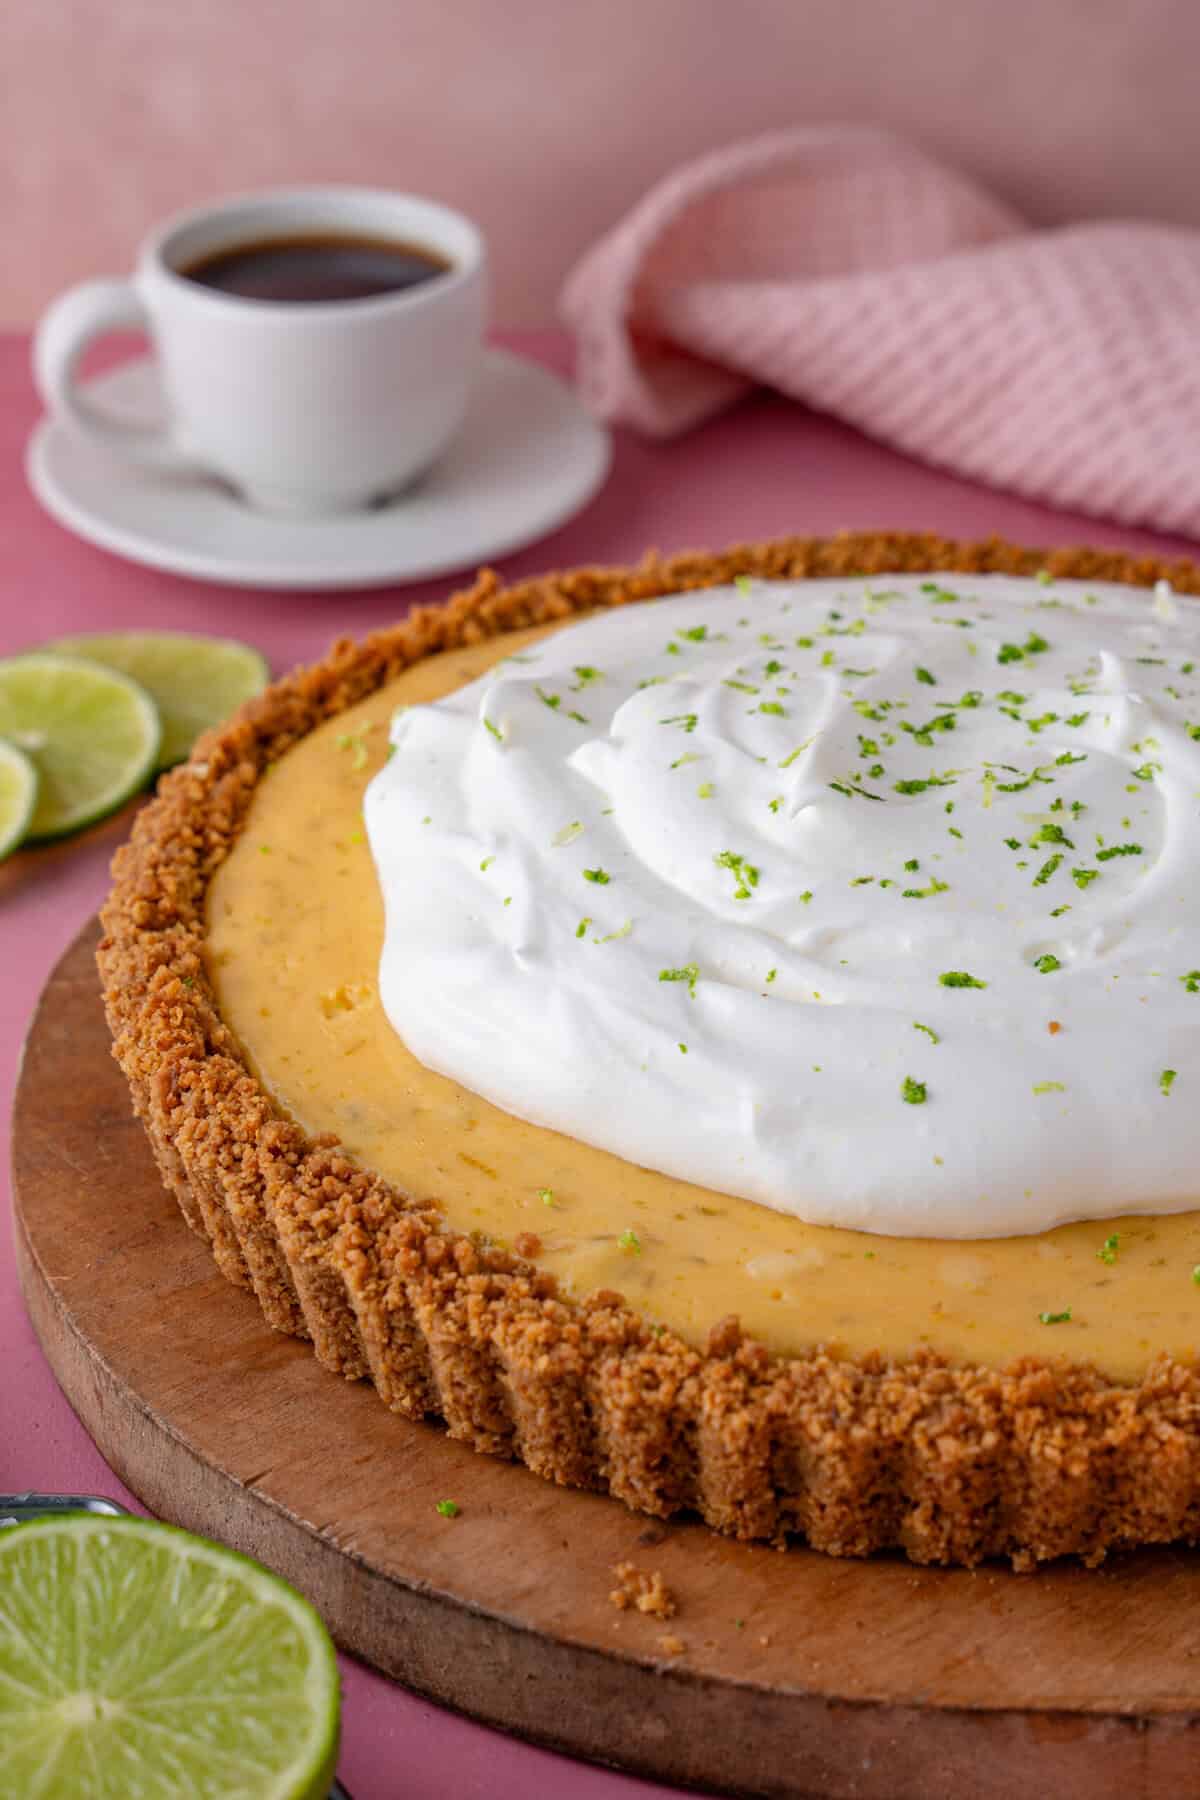
key lime pie recipe

Key Lime Pie Recipe

Bright, creamy and refreshingly tart, key lime pie is a classic American dessert with a buttery biscuit base and a smooth citrus filling. This version uses readily available limes and is simple to prepare at home. For the best result, chill the pie thoroughly before serving.

Preparation time: 20 minutes

Baking time: 20 minutes

Chilling time: At least 4 hours

Serves: 8

Ingredients

For the base

  • 250g digestive biscuits
  • 100g unsalted butter, melted
  • 1 tablespoon caster sugar

For the filling

  • 4 large egg yolks
  • 1 x 397g tin sweetened condensed milk
  • Finely grated zest of 2 limes
  • 120ml fresh lime juice, from about 4–6 limes

To serve

  • Whipped cream
  • Extra lime zest or thin lime slices

Method

  1. Prepare the tin. Heat the oven to 175°C (155°C fan). Lightly grease a 23cm pie dish or loose-bottomed tart tin.
  2. Make the base. Crush the digestive biscuits into fine crumbs. Stir in the melted butter and caster sugar until evenly combined. Press the mixture firmly over the base and up the sides of the tin.
  3. Bake the base. Bake for 8–10 minutes, then set aside to cool slightly while you make the filling.
  4. Mix the filling. In a bowl, whisk the egg yolks until slightly thickened. Whisk in the condensed milk, lime zest and lime juice until smooth.
  5. Fill and bake. Pour the filling into the biscuit crust and bake for 10–12 minutes, until the edges are set but the centre still has a slight wobble.
  6. Cool and chill. Leave the pie to cool to room temperature, then cover and refrigerate for at least 4 hours, or until thoroughly set.
  7. Serve. Top with whipped cream and a little extra lime zest or a few slices of lime.

Tips for the Best Key Lime Pie

  • Choose fresh juice. Freshly squeezed lime juice gives the filling its clean, lively flavour. Key limes are small and aromatic, but regular limes work well too.
  • Don’t overbake. The filling should retain a gentle wobble in the centre when it comes out of the oven. It will continue to set as it cools.
  • Allow plenty of chilling time. A well-chilled pie slices more neatly and has a firmer, creamier texture.
  • Make it ahead. The pie can be prepared the day before serving. Add the whipped cream shortly before bringing it to the table.

With its crisp biscuit crust and tangy, silky filling, this key lime pie makes a refreshing finish to a meal. Serve it cold, with a generous spoonful of cream to balance the citrus.


Expert Tips and Common Pitfalls: Key Lime Pie Recipes by Mary Berry and Jamie Oliver

  1. How does Mary Berry make key lime pie?
  2. What is Jamie Oliver’s best key lime pie recipe?
  3. What is the secret to a good key lime pie?
  4. What are some common mistakes when making key lime pie?

How does Mary Berry make key lime pie?

Mary Berry’s key lime pie is typically made with a crumbly digestive-biscuit base and a smooth filling of egg yolks, sweetened condensed milk, lime zest and fresh lime juice. The base is baked first, then filled and baked briefly until the centre is just set. Once cooled, the pie is chilled before serving, often with whipped cream. For exact quantities and timings, follow the particular Mary Berry recipe you’re using, as versions may differ.

What is Jamie Oliver’s best key lime pie recipe?

There’s no single recipe that can objectively be called Jamie Oliver’s “best” key lime pie, and recipes can change over time. For an authentic version, look for a key lime pie recipe published on Jamie Oliver’s official website or in one of his cookbooks, and follow its quantities and method closely. The classic style pairs a crisp biscuit base with a creamy, tangy lime filling; allow plenty of time for the pie to chill before serving.

What is the secret to a good key lime pie?

The secret to a good key lime pie is balancing its sharp, fresh citrus flavour with a smooth, creamy filling and a crisp biscuit base. Use freshly squeezed lime juice and finely grated zest for the brightest taste, and mix the filling just until smooth. Take care not to overbake it: the centre should still have a slight wobble, as it will continue to set while cooling. Finally, chill the pie thoroughly before serving for the best texture and cleanest slices.

What are some common mistakes when making key lime pie?

Common mistakes when making key lime pie include using bottled lime juice, which can make the filling taste less fresh, and adding too much juice, which may stop it setting properly. Avoid overbaking: the centre should still have a slight wobble when the pie comes out of the oven, as it will firm up while cooling. It’s also important to let the pie chill for at least four hours before serving; cutting it too soon can leave the filling soft. Finally, press the biscuit crumbs firmly into the tin so the base holds together when sliced.

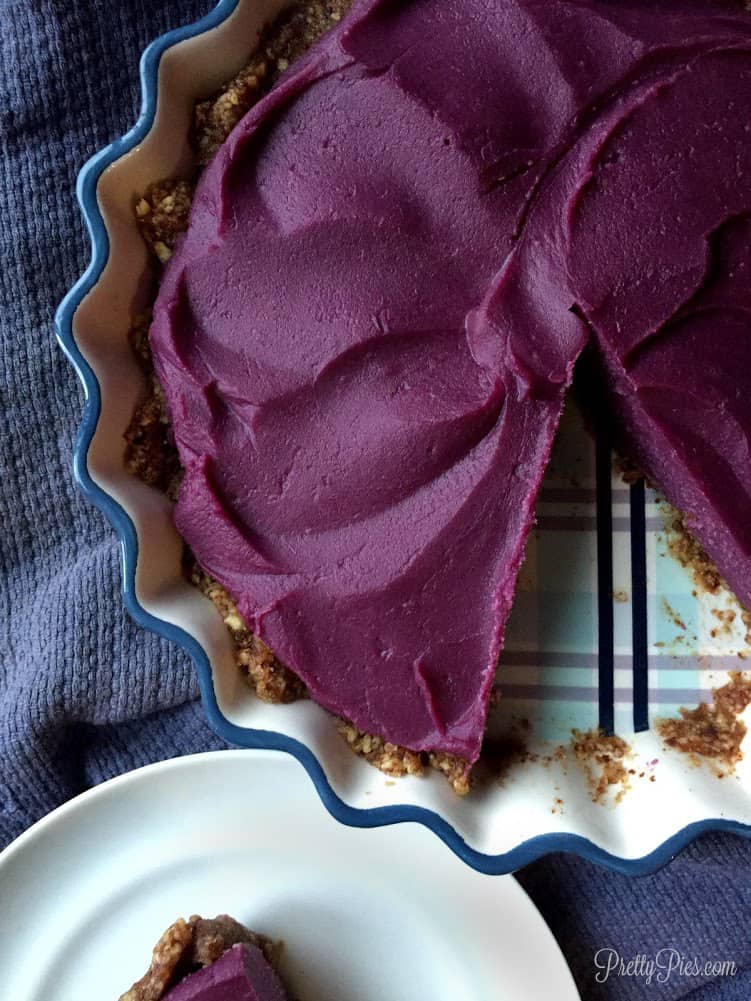
Sweet Potato Pie: A Comforting Southern Classic

sweet potato pie

Sweet Potato Pie: A Comforting Southern Classic

Sweet potato pie is a beloved dessert from the southern United States, where it has long been part of family gatherings and holiday meals. Smooth, gently spiced and naturally sweet, it is often compared with pumpkin pie. But sweet potato brings its own distinctive flavour: mellow, earthy and rich, with a soft texture that makes every slice feel wonderfully comforting.

A little history

Sweet potatoes have been grown and enjoyed in the Americas for centuries. In the southern states, they became an important and versatile ingredient, used in everything from savoury dishes to puddings and pies. Sweet potato pie is especially associated with African American cooking and the culinary traditions of the American South, where recipes have been passed down and adapted across generations.

Today, it is a familiar feature of Thanksgiving tables and other celebrations, though it is just as welcome as a simple weekend dessert. Some families favour a deeply spiced filling, while others let the flavour of the sweet potato take centre stage.

What makes a good sweet potato pie?

A classic pie starts with cooked sweet potatoes, mashed until smooth and combined with eggs, sugar, butter and milk or cream. Cinnamon and nutmeg are common additions; vanilla is often included, too. The filling is poured into a pastry case and baked until set, leaving the centre tender and custard-like.

For the best texture, cook the sweet potatoes until completely soft, then mash or blend them thoroughly. Baking them in their skins can give the filling a concentrated flavour, while boiling is a quicker option. If the mash seems watery, allow it to cool and drain away any excess liquid before mixing the filling.

An easy sweet potato pie recipe

Ingredients

  • 1 unbaked 23 cm shortcrust pastry case
  • 500 g cooked, peeled sweet potato
  • 100 g soft brown sugar
  • 50 g butter, melted
  • 2 medium eggs
  • 120 ml evaporated milk or double cream
  • 1 teaspoon vanilla extract
  • 1 teaspoon ground cinnamon
  • ¼ teaspoon ground nutmeg
  • A pinch of salt

Method

  1. Heat the oven to 180°C (160°C fan). Place the pastry case on a baking tray.
  2. Mash the cooked sweet potato until smooth. For an extra silky filling, blend it briefly.
  3. In a bowl, whisk together the sugar, melted butter, eggs, milk or cream, vanilla, spices and salt. Stir in the sweet potato until evenly combined.
  4. Pour the filling into the pastry case and smooth the top. Bake for 45–55 minutes, until the edges are set and the centre has only a slight wobble.
  5. Leave the pie to cool before slicing. The filling will firm up as it rests.

Serving and variations

Sweet potato pie is delicious at room temperature or slightly chilled. Serve it plain, with softly whipped cream, or alongside a scoop of vanilla ice cream. A little orange zest can brighten the filling, while ginger or allspice adds extra warmth. For a less sweet pie, reduce the sugar slightly and let the sweet potato’s natural sweetness shine through.

Whether served at a festive meal or enjoyed with a cup of tea, sweet potato pie is a simple, generous dessert with a story rooted in home cooking. Its appeal lies in the balance of buttery pastry, smooth filling and fragrant spice—and in the many family traditions carried in every slice.


Sweet Potato Pie FAQs: Flavour, Preparation, Baking, Storage and Freezing

  1. What does sweet potato pie taste like?
  2. How do you make sweet potato pie from scratch?
  3. Should sweet potatoes be baked or boiled for pie?
  4. How can you tell when sweet potato pie is fully baked?
  5. How should sweet potato pie be stored, and how long does it keep?
  6. Can you freeze sweet potato pie?

What does sweet potato pie taste like?

Sweet potato pie has a smooth, creamy texture and a gently sweet, earthy flavour, with a hint of nuttiness from the sweet potato. Warm spices such as cinnamon and nutmeg often add a fragrant, comforting note, while the buttery pastry provides a crisp contrast to the soft filling. Its flavour is sometimes compared with pumpkin pie, but sweet potato pie is typically richer and less sharply spiced.

How do you make sweet potato pie from scratch?

To make sweet potato pie from scratch, prepare a shortcrust pastry case and bake or boil sweet potatoes until tender. Mash the peeled potatoes until smooth, then mix with eggs, melted butter, sugar, milk or cream, vanilla and warming spices such as cinnamon and nutmeg. Pour the filling into the pastry case and bake at 180°C (160°C fan) for about 45–55 minutes, until the edges are set and the centre has a slight wobble. Leave the pie to cool before serving so the filling can firm up.

Should sweet potatoes be baked or boiled for pie?

Either method works, but baking sweet potatoes is often best for pie because it concentrates their natural sweetness and keeps the flesh less watery, helping create a rich, smooth filling. Boiling is quicker and perfectly suitable, though the potatoes may absorb extra moisture; drain them well and let them cool before mashing. Whichever method you choose, cook the potatoes until very tender and mash them thoroughly for an even texture.

How can you tell when sweet potato pie is fully baked?

Sweet potato pie is fully baked when the edges of the filling are set and the centre still has a slight wobble when you gently shake the tin. A knife inserted about 2.5 cm from the centre should come out mostly clean, though the very middle may remain soft; it will firm up as the pie cools. Avoid waiting until the entire surface is completely firm, as the filling can become dry or overbaked.

How should sweet potato pie be stored, and how long does it keep?

Because sweet potato pie contains eggs and dairy, let it cool, then cover it and refrigerate it within two hours of baking. It will keep in the fridge for around 3–4 days. For longer storage, wrap it well and freeze it for up to 2 months; thaw it overnight in the fridge before serving.

Can you freeze sweet potato pie?

Yes, sweet potato pie can be frozen, either whole or in individual slices. Let it cool completely, then wrap it tightly in cling film and a layer of foil, or place it in an airtight freezer-safe container. Freeze for up to three months and defrost overnight in the fridge. For the best texture, avoid freezing pies topped with cream; add any toppings after thawing. Reheat gently in the oven if you prefer to serve it warm.

Delightful Pumpkin Pie Recipe for a Taste of Autumn

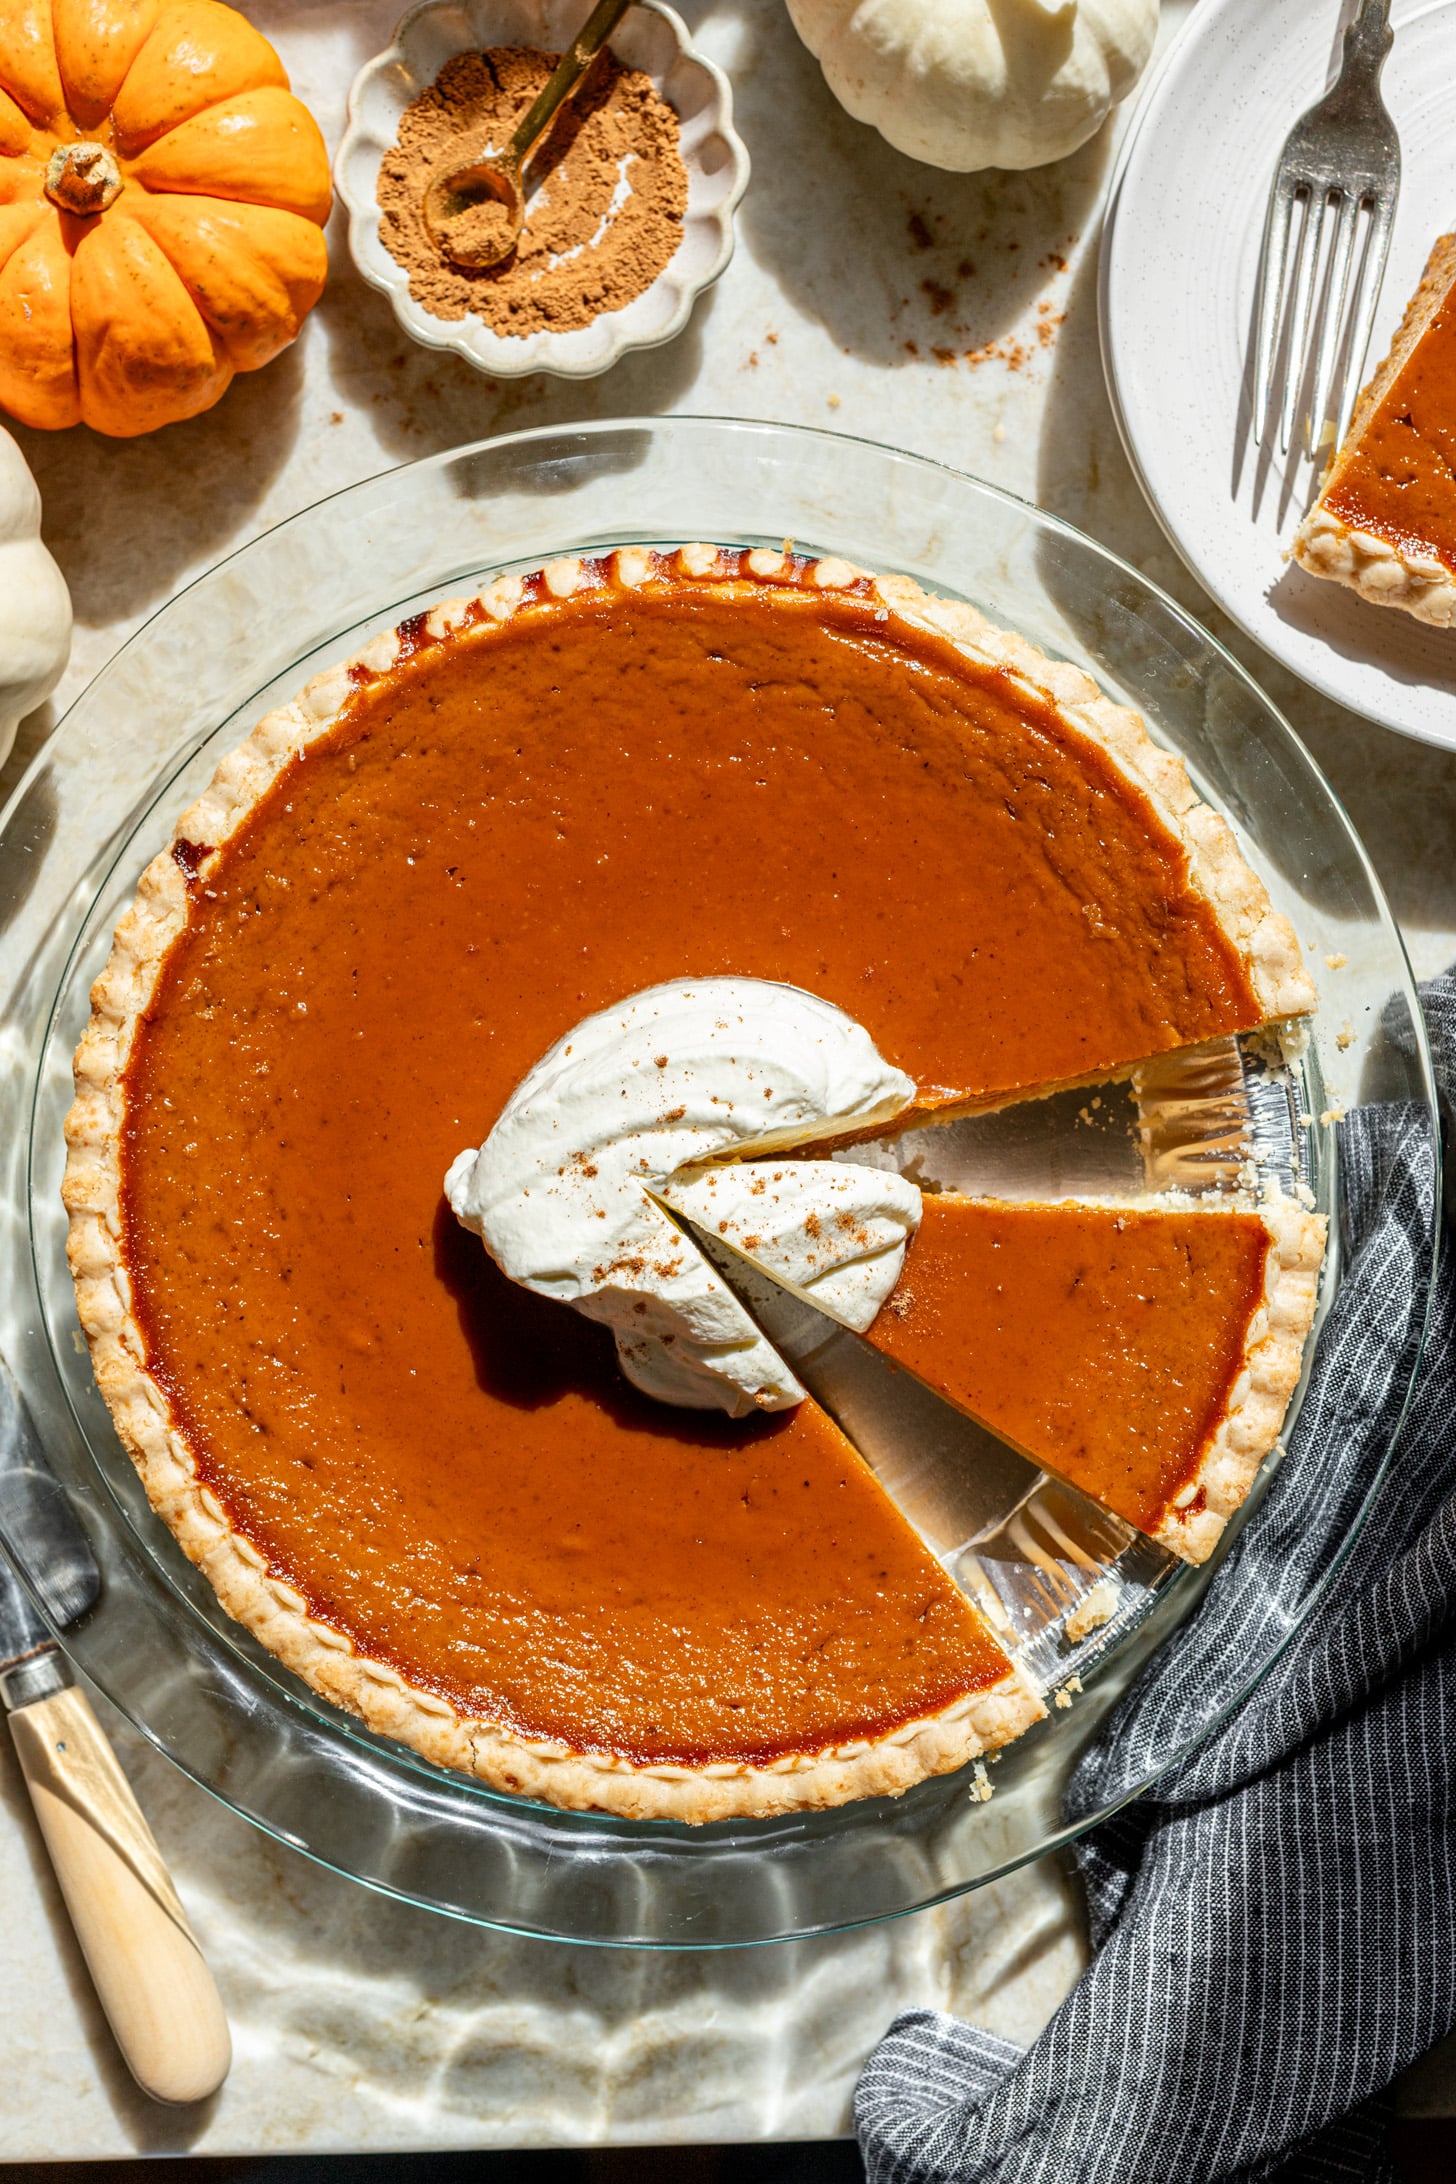
pumpkin pie recipe

The Perfect Pumpkin Pie Recipe

There’s nothing quite like the warm, comforting taste of pumpkin pie on a crisp autumn day. Whether you’re preparing for a festive gathering or simply craving a seasonal treat, this classic recipe is sure to delight your taste buds.

Ingredients:

  • 1 1/2 cups pumpkin puree
  • 1 can (14 oz) sweetened condensed milk
  • 2 eggs
  • 1 teaspoon ground cinnamon
  • 1/2 teaspoon ground ginger
  • 1/4 teaspoon ground nutmeg
  • 1/4 teaspoon salt
  • 1 unbaked 9-inch pie crust

Instructions:

  1. Preheat your oven to 425°F (220°C).
  2. In a large mixing bowl, combine the pumpkin puree, sweetened condensed milk, eggs, spices, and salt. Mix until smooth and well combined.
  3. Pour the mixture into the unbaked pie crust and spread it evenly.
  4. Bake the pie in the preheated oven for 15 minutes.
  5. Reduce the oven temperature to 350°F (180°C) and continue baking for another 35-40 minutes or until the filling is set.

Serving Suggestions:

This pumpkin pie is delicious on its own, but you can take it to the next level by serving it with a dollop of whipped cream or a scoop of vanilla ice cream. Sprinkle some cinnamon on top for an extra touch of flavour.

Enjoy this homemade pumpkin pie with loved ones and savour the taste of autumn in every bite!


Top 5 Tips for Perfecting Your Pumpkin Pie Recipe

  1. Use fresh pumpkin puree for the best flavour and texture.
  2. Add warming spices like cinnamon, nutmeg, and ginger for a delicious autumnal taste.
  3. Pre-bake the pie crust before adding the filling to prevent it from becoming soggy.
  4. Let the pie cool completely before serving to allow the flavours to develop fully.
  5. Serve with a dollop of whipped cream or a scoop of vanilla ice cream for a delightful finishing touch.

Use fresh pumpkin puree for the best flavour and texture.

For the best flavour and texture in your pumpkin pie, it is recommended to use fresh pumpkin puree. By using fresh pumpkin, you can enhance the natural sweetness and richness of the pie, resulting in a more authentic and delectable dessert. Fresh pumpkin puree adds a depth of flavour that canned versions may lack, giving your pie a homemade touch that will surely impress your taste buds and those who indulge in this seasonal treat.

Add warming spices like cinnamon, nutmeg, and ginger for a delicious autumnal taste.

Enhance the flavour of your pumpkin pie by incorporating a medley of warming spices such as cinnamon, nutmeg, and ginger. These aromatic additions not only infuse your dessert with a delightful autumnal essence but also elevate its overall taste profile. The combination of these spices adds depth and richness to each bite, creating a truly comforting and seasonal treat that is bound to be a hit at any gathering or as a special indulgence for yourself.

Pre-bake the pie crust before adding the filling to prevent it from becoming soggy.

To ensure a perfect pumpkin pie with a crisp and flaky crust, it is recommended to pre-bake the pie crust before adding the filling. This crucial step helps prevent the crust from becoming soggy as it bakes with the pumpkin mixture. By pre-baking the crust, you create a barrier that maintains the texture and integrity of the pastry, resulting in a delightful contrast to the creamy pumpkin filling. This simple tip ensures that every slice of your pumpkin pie is met with a satisfying crunch and delicious flavour combination.

Let the pie cool completely before serving to allow the flavours to develop fully.

To truly savour the delightful flavours of a freshly baked pumpkin pie, it is essential to exercise patience and allow the pie to cool completely before serving. This crucial step not only enhances the texture of the pie but also allows the rich blend of spices and pumpkin to meld together, resulting in a more harmonious and fully developed taste experience. By giving the pie ample time to cool, you are ensuring that each bite is a delicious celebration of autumn’s finest flavours.

Serve with a dollop of whipped cream or a scoop of vanilla ice cream for a delightful finishing touch.

Enhance the indulgent experience of enjoying a slice of freshly baked pumpkin pie by adding a generous dollop of airy whipped cream or a scoop of creamy vanilla ice cream. The contrasting textures and flavours create a harmonious balance that elevates the dessert to new heights, offering a delightful and satisfying finishing touch to each bite. Whether served at a festive gathering or as a cosy treat at home, this simple addition adds an extra layer of decadence to an already beloved autumn classic.

Delightful Homemade Cake Recipe: A Guide to Baking Sweet Perfection

cake recipe

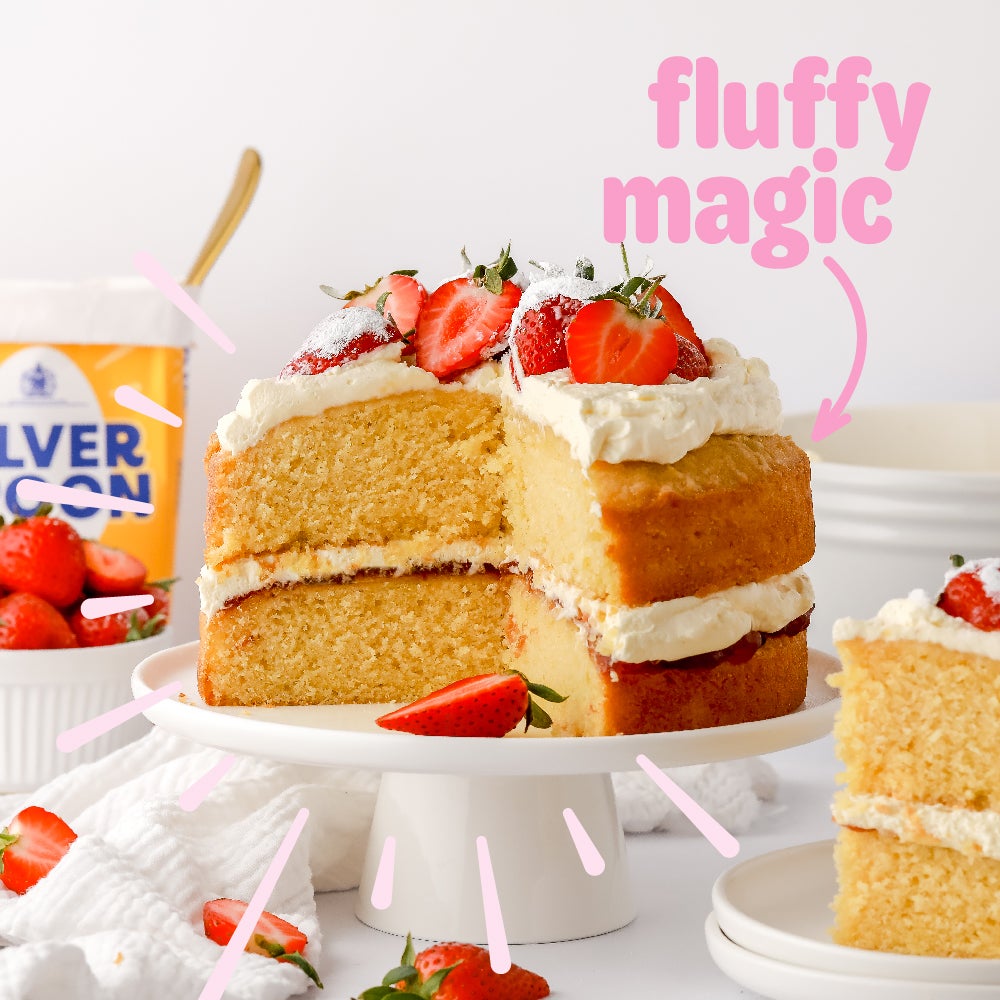
The Perfect Victoria Sponge Cake Recipe

Indulge in the classic delight of a homemade Victoria Sponge cake with this simple and delicious recipe. Whether you’re hosting a tea party or simply craving a sweet treat, this cake is sure to impress.

Ingredients:

  • 200g unsalted butter, softened
  • 200g caster sugar
  • 4 medium eggs
  • 200g self-raising flour
  • 1 tsp baking powder
  • 2 tbsp milk
  • Raspberry jam and whipped cream, to fill
  • Icing sugar, for dusting

Instructions:

  1. Preheat your oven to 180°C (160°C fan) and grease two 20cm round cake tins.
  2. In a large bowl, cream together the butter and sugar until light and fluffy.
  3. Add the eggs one at a time, beating well after each addition.
  4. Sift in the flour and baking powder, then gently fold into the mixture until well combined. Add the milk to loosen the batter slightly.

    li>Divide the batter evenly between the prepared cake tins and smooth the tops with a spatula.

    li>Bake in the preheated oven for 20-25 minutes or until golden and springy to the touch.

    li>Allow the cakes to cool in their tins for 5 minutes before transferring them to a wire rack to cool completely.

    li>To assemble the cake, spread raspberry jam on one layer and whipped cream on top of it. Place the second layer on top.

    li>Dust with icing sugar before serving. Enjoy your delicious homemade Victoria Sponge cake!

This Victoria Sponge cake is a timeless classic that never fails to impress. With its light and fluffy texture complemented by sweet jam and cream filling, it’s perfect for any occasion. So why not roll up your sleeves, preheat that oven, and treat yourself to a slice of homemade goodness?

Bon appétit!


Essential Tips and Tricks for Perfecting Your Cake Baking Skills: Answers to Common Questions

  1. 1. How do I make a basic sponge cake?
  2. 2. What are the essential ingredients for a classic Victoria Sponge cake?
  3. 3. Can I substitute self-raising flour with plain flour in a cake recipe?
  4. 4. How can I prevent my cake from being too dry?
  5. 5. What is the best method for creaming butter and sugar when baking a cake?
  6. 6. How do I know when my cake is fully baked and ready to be taken out of the oven?
  7. 7. Is it necessary to preheat the oven before baking a cake?
  8. 8. What are some creative ideas for decorating a homemade cake?
  9. 9. Are there any tips for storing leftover cake to keep it fresh?

1. How do I make a basic sponge cake?

For those wondering how to make a basic sponge cake, the process is surprisingly straightforward. Start by creaming together softened butter and caster sugar until light and fluffy. Then, gradually add eggs one at a time, ensuring each is well incorporated. Sift in self-raising flour and baking powder, gently folding them into the mixture. A touch of milk can be added to achieve the desired consistency. Divide the batter between cake tins, bake until golden and springy, then allow to cool before filling with jam and cream. This simple recipe results in a light, airy sponge cake that is perfect for any occasion.

2. What are the essential ingredients for a classic Victoria Sponge cake?

When it comes to baking a classic Victoria Sponge cake, the essential ingredients you’ll need include unsalted butter for richness, caster sugar for sweetness, eggs for structure, self-raising flour for lightness, baking powder for a bit of lift, and a touch of milk to bring everything together. These key components come together to create a soft and moist sponge that serves as the perfect base for layering with raspberry jam and whipped cream. Mastering the balance of these ingredients is crucial in achieving that quintessential Victoria Sponge cake texture and flavour that everyone loves.

3. Can I substitute self-raising flour with plain flour in a cake recipe?

When it comes to baking cakes, the choice between self-raising flour and plain flour can impact the texture and rise of your final product. While self-raising flour already contains a raising agent, such as baking powder, plain flour does not. If you find yourself without self-raising flour, you can create a substitute by adding baking powder to plain flour. However, it’s essential to adjust the quantities carefully to ensure the right balance of ingredients for your cake recipe. Experimenting with different flour options can lead to variations in texture and density, so it’s advisable to follow the recipe closely for best results.

4. How can I prevent my cake from being too dry?

To prevent your cake from turning out too dry, there are a few key tips to keep in mind. Firstly, make sure not to overmix the batter, as this can result in a tough and dry texture. Be sure to measure your ingredients accurately and follow the recipe instructions closely. Additionally, avoid overbaking the cake by regularly checking it towards the end of the baking time and using a toothpick to test for doneness. If the toothpick comes out clean with a few crumbs attached, it’s ready to be taken out of the oven. Lastly, consider adding ingredients like sour cream, buttermilk, or applesauce to help maintain moisture in your cake. By following these guidelines, you can ensure a moist and delicious cake every time you bake.

5. What is the best method for creaming butter and sugar when baking a cake?

When baking a cake, the best method for creaming butter and sugar is to ensure that the butter is at room temperature for optimal results. Start by placing softened unsalted butter and caster sugar in a mixing bowl. Using an electric mixer or wooden spoon, beat the butter and sugar together until light and fluffy. This process incorporates air into the mixture, resulting in a lighter texture for your cake. It is essential to cream the butter and sugar adequately to create a smooth and uniform base for your cake batter, which will ultimately contribute to a moist and tender crumb in the finished cake.

6. How do I know when my cake is fully baked and ready to be taken out of the oven?

To determine if your cake is fully baked and ready to be taken out of the oven, you can use a few simple techniques. Firstly, check the colour of the cake – it should be golden brown and evenly baked. You can also insert a skewer or toothpick into the centre of the cake; if it comes out clean with no wet batter sticking to it, your cake is likely done. Additionally, gently press the top of the cake – if it springs back when touched, it’s a good indicator that it’s fully baked. Remember that every oven is different, so keep an eye on your cake towards the end of the baking time to ensure it is not overcooked.

7. Is it necessary to preheat the oven before baking a cake?

Preheating the oven before baking a cake is essential for achieving the best results. A preheated oven ensures that the cake batter starts to cook immediately upon entering the oven, helping the cake rise evenly and develop the desired texture. Without preheating, the baking time and temperature may be inconsistent, leading to an undercooked or unevenly baked cake. Therefore, to ensure your cake bakes perfectly and turns out delicious every time, it is highly recommended to preheat your oven before starting the baking process.

8. What are some creative ideas for decorating a homemade cake?

When it comes to decorating a homemade cake, the possibilities are endless for unleashing your creativity. Some innovative ideas include using fresh fruits like berries or citrus slices as vibrant toppings, creating intricate designs with piped buttercream frosting, or adding edible flowers for a touch of elegance. Alternatively, you can experiment with chocolate ganache drips, colourful sprinkles, or even personalised fondant decorations to make your cake truly unique and visually stunning. Let your imagination run wild and have fun turning your homemade creation into a work of art that not only tastes delicious but also looks absolutely spectacular.

9. Are there any tips for storing leftover cake to keep it fresh?

When it comes to storing leftover cake to maintain its freshness, there are a few handy tips to keep in mind. Firstly, ensure that the cake is completely cooled before storing it. Once cooled, wrap the cake tightly in cling film or place it in an airtight container to prevent it from drying out. For cakes with frosting, refrigeration may be necessary to preserve the frosting’s texture. If you plan to store the cake for an extended period, consider freezing individual slices wrapped in parchment paper and placed in a freezer-safe bag. By following these storage tips, you can enjoy your leftover cake for longer while still savoring its delicious taste and texture.